Multicolor 3D Printing When You Don't Own an AMS
You found a model with four colours baked into it, you do not own a multi-material unit, and every video on the subject is a two-minute advert for a $350 accessory. There are four other ways to get that model out in colour, and two of them produce a better-looking part than the accessory does.
This is a comparison of every route to a coloured print, with the material waste and the real cost of each. The short version: single-nozzle multi-material printing is the most convenient option and by a wide margin the most wasteful, and splitting the model is almost always the smarter answer.
How do you get a multicolor 3D print without a multi-material printer?
Split the model into parts, print each part in its own colour, and glue them together. A 120g four-colour model comes out at 128g of filament and about $39 that way, against 306g and roughly $90 on a single-nozzle multi-material system, which purges around 186g of plastic doing the same job. It works on any single-extruder printer.
Last verified: July 2026
Key takeaways
- •Single-nozzle multi-material systems flush the nozzle on every colour change, and the flushed plastic is waste. How much depends on the machine, the slicer and the colour pair.
- •Worked example: a four-colour 120g model with 1,500 tool changes at 100mm³ per change purges around 186g — more plastic than the part contains.
- •Splitting a model into single-colour parts and assembling costs 128g against the 120g model — no purge, only prime lines and brims — and works on any printer.
- •Manual filament swaps give unlimited horizontal colour bands for free, but require someone present at each swap.
- •Painting reaches detail no filament method can: undercuts, blends, metallics and weathering. Budget 2-6 hours of hand work.
The Five Ways to Get Colour Onto a Print
Every colour method is one of these. Pick by what the part is for, not by what the printer can technically do.
| Method | Colours | Wasted filament | Best for |
|---|---|---|---|
| Split and assemble | One per part | No purge; 2-3g of prime line and brim per plate | Props, cosplay, anything already made of separate pieces. |
| Manual filament swap | Unlimited, horizontal bands only | 2-5g per swap | Signs, nameplates, two-tone vases, layered logos. |
| Dual extruder / IDEX | Two | 20-40g prime tower | Two-colour parts, or a soluble support material. |
| Single-nozzle multi-material | 4-16 | Often more than the part weighs | Complex colour geometry when convenience beats material cost. |
| Print plain, then paint | Unlimited, including gradients | None | Miniatures, display models, anything where detail matters. |
Waste figures are indicative purge and prime-tower volumes for the stated hardware class, July 2026. Check your own slicer's flushing volumes before relying on any of them.
The Purge Problem, With Numbers
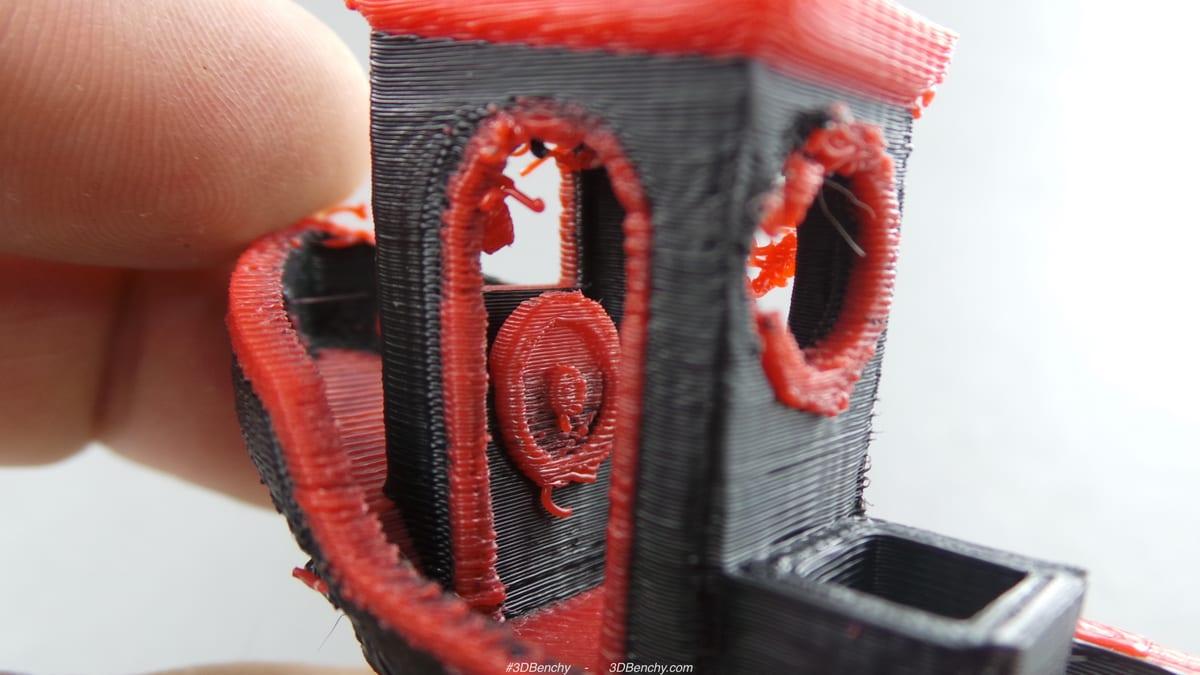
A single-nozzle multi-material printer flushes the nozzle every time it changes colour, and the flushed plastic is waste. It has to: there is one melt chamber, and the old colour has to be cleared out of it before the new one prints clean. How much it flushes depends on the colour pair, and it is not symmetrical: getting black out of a nozzle before printing white takes far more white than the reverse takes black. Check the flushing volumes in your own slicer rather than trusting a single figure, because they differ by machine, slicer and colour pair.
Now count changes, and work an example. A 120-gram model 100mm tall at 0.2mm layers is 500 layers. If all four colours appear on most layers, the printer performs about three changes per layer, so 1,500 changes across the print. Take 100mm³ per change as a working figure and that is 150,000mm³, or 150cm³, which at PLA's 1.24 g/cm³ density is 186 grams of purge. The bin ends up heavier than the model. Every number in this post follows from that one assumption, so if your slicer flushes less, scale it down.
Time gets hit just as hard. Each change is an unload, a load, a purge and a wipe, which takes 25-40 seconds. Fifteen hundred of those is 12.5 hours of the printer doing nothing but changing colour, on top of the eight hours it needed to make the part.
Filament consumed producing the same 120g four-colour model
A single-nozzle multi-material system consumes 306g to produce a 120g model. Every other route lands between 120g and 150g.
| method | Filament used (grams) |
|---|---|
| One colour + paint | 120g |
| Manual filament swaps | 129g |
| Multi-part, assembled | 128g |
| Dual extruder (2 colours) | 150g |
| Single-nozzle AMS (4 colours) | 306g |
Source: Worked example, not measurements: 1,500 tool changes at a working figure of 100mm³ flushed per change, plus typical prime-tower volumes, at PLA 1.24 g/cm³, July 2026
What Each Route Actually Costs
Feed those weights and print hours into our 3D print cost calculator at PLA prices and a mid-range $3 machine hour, and the gap becomes concrete. The single-colour job is 120g over 8 hours: $3.00 of material, $24.00 of machine time, $35.10 with margin. The AMS job is 306g over 20.5 hours: $7.65 of material, $61.50 of machine time, $89.90 with margin. Material more than doubled, but the machine time is what did the damage.
That is the whole argument for splitting the model. Four separate single-colour parts totalling 128g and 9 hours comes out at $39.26, ships with no purge, and lets you use a different material per part if you want a rigid body and a flexible grip. The cost is your time gluing, and a seam you have to design somewhere sensible.
Estimated quote for the same four-colour model, by method
Producing the model on a single-nozzle multi-material system costs about $90 against $39 for four separate parts glued together — the same finished object, 2.3 times the price.
| method | Estimated price |
|---|---|
| One colour, no paint | $35.1 |
| Manual filament swaps | $37.34 |
| Multi-part, assembled | $39.26 |
| Dual extruder (2 colours) | $47.78 |
| Single-nozzle AMS (4 colours) | $89.9 |
Source: 3D Print Bounty cost calculator: PLA at $0.025/g, mid-range machine rate $3/hour, 30% margin, July 2026. Excludes hand-painting labour
Manual Filament Swaps: Free, and Underrated
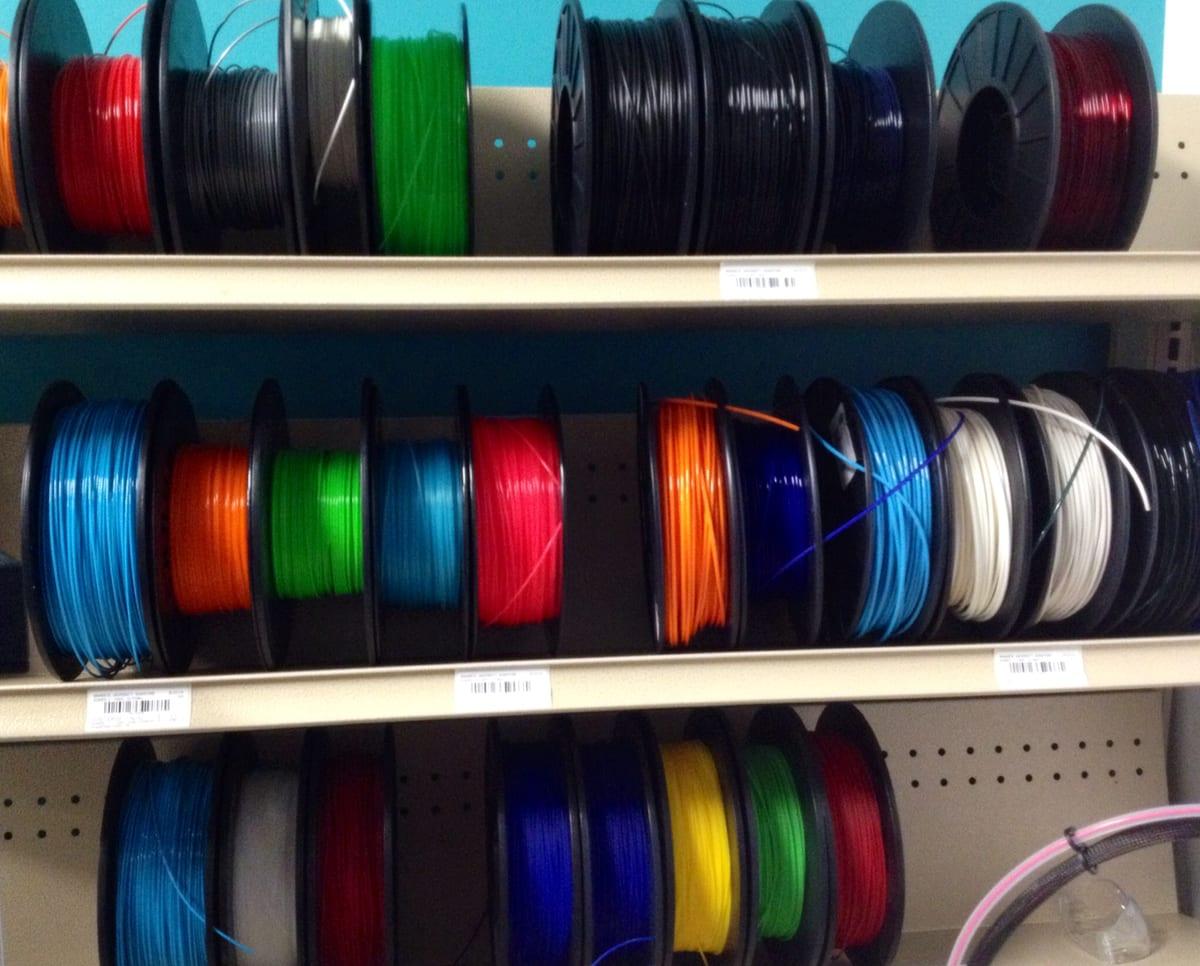
Every slicer can insert a pause at a chosen layer. In PrusaSlicer and Orca it is a colour-change marker on the layer slider; in Cura it is the Filament Change post-processing script; in raw G-code it is an M600. The printer parks, you pull one filament out and push another in, and the print resumes in a new colour.
The constraint is that colour changes are horizontal. You get bands, not shapes. That covers a surprising amount of real work: nameplates with a contrasting text layer, two-tone vases, keycaps, layered logos, and any sign where the raised lettering happens to be the top few millimetres. It costs 2-5g per swap in purge and nothing at all in hardware.
The cost is attendance. A six-swap print needs a human at the printer six times, at times the printer chooses. If you are commissioning the job, expect a maker to charge for that as attended time rather than machine time, and to reasonably refuse if the swaps land at 3am. Say upfront how many colour changes are involved so the quote is honest.
When You Should Just Paint It
Paint wins on anything where detail matters more than convenience. No filament method produces a blend, a metallic, a wash into recesses, or edge highlighting. No filament method reaches an undercut. And a primed, sanded and painted print hides layer lines that a multicolour print still shows in full, because the colour boundary does nothing about the surface texture.
The trade is hours. Prime, sand, base coat, detail, wash, seal is 2-6 hours on a model-sized piece and considerably more on a helmet. At any realistic hourly rate that makes painting the most expensive option on this page by total cost and the best one by result. It is also the only option that improves with practice rather than with hardware.
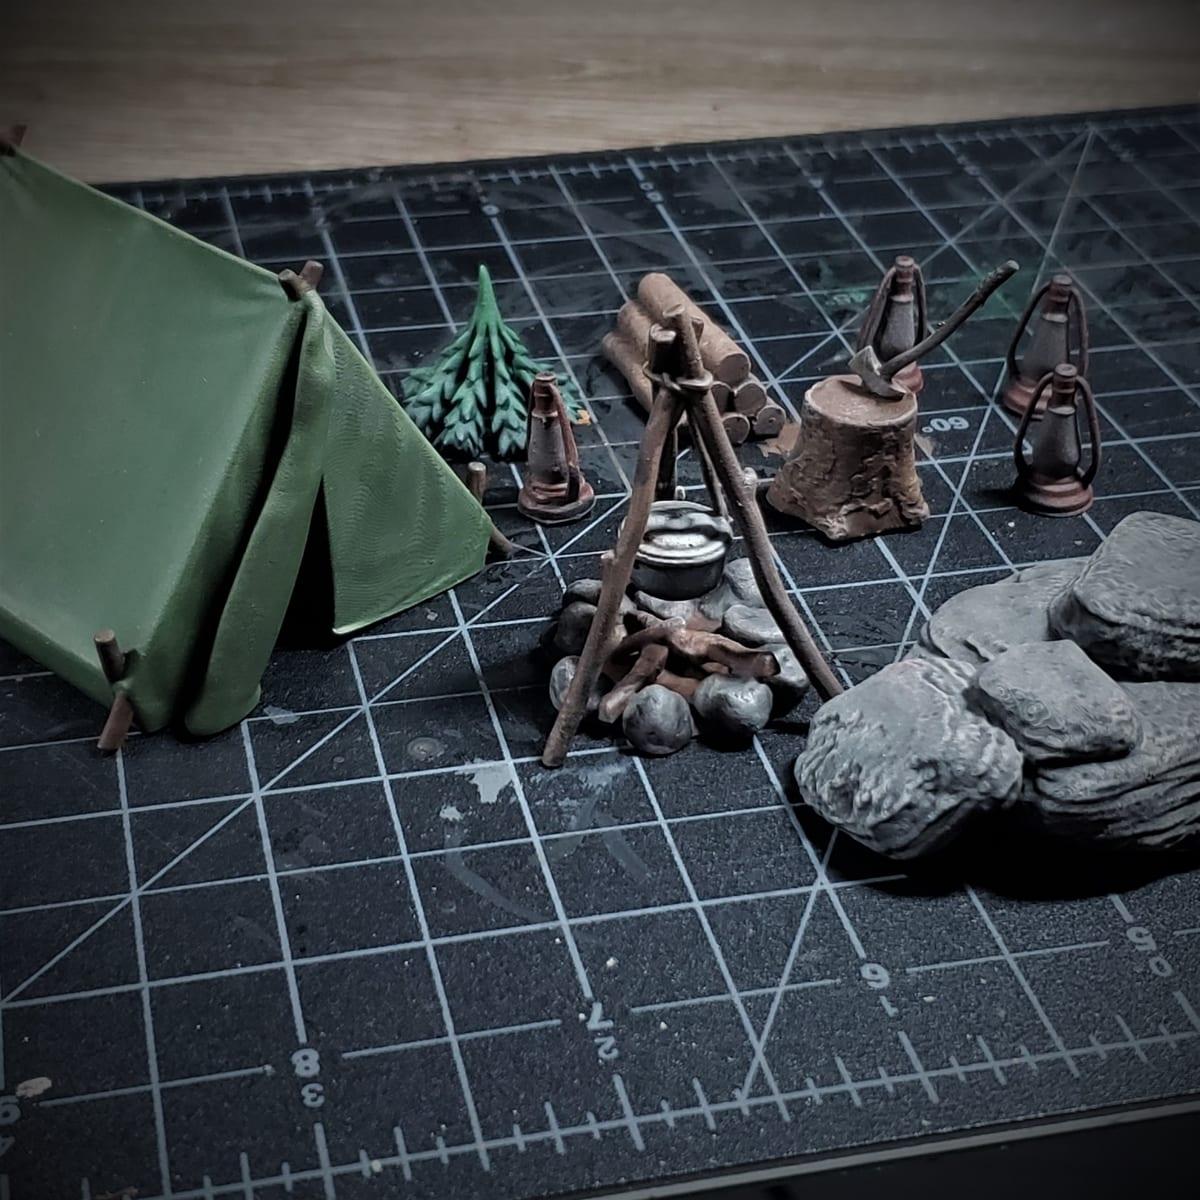
The hybrid is usually right: print the body in the dominant colour so the largest surface needs no coverage, print small detail parts separately in their own colours, and paint only what neither of those solved.
True Full-Colour Printing, and Why You Probably Cannot Have It
Full-colour printing with continuous gradients and photographic texture exists, and it is not FDM. Binder jetting bonds coloured powder layer by layer, and PolyJet cures tinted photopolymer. Both produce genuinely full-colour parts, and both are service bureau machines priced by model volume rather than print hour. Get an actual quote rather than trusting a rule of thumb; the pricing model is different enough from FDM that per-gram intuitions do not transfer.
The practical reason most people do not use them: binder-jet parts are fragile and chalky unless infiltrated, PolyJet parts fade in UV, and neither is a functional material. If the part needs to survive being handled, you are back to FDM plus paint. If it is a display piece, a figurine or an architectural model, full colour is worth pricing.
One cheap trick worth knowing: multi-colour filaments. Silk gradient and rainbow spools change colour along the strand, so a single-extruder print comes out banded or gradient with zero effort and zero waste. You have no control over where the transitions land, which makes it useless for logos and rather good for vases.
What to Tell a Maker When You Want Colour
Send four things and you will get a firm quote instead of a conversation. First, how many colours and whether they are separable into parts. Second, whether a visible glue seam is acceptable and where you would prefer it. Third, whether an approximate colour match is fine or you need a specific shade, because "red" spans a lot of spools. Fourth, whether the part is functional or display, since that decides whether painting is on the table at all.
If the model is already split into coloured components, say so loudly. It moves the job from the $90 column to the $39 column before anyone has done any work, and most people never mention it. For everything else that goes into a quote, our 3D printing cost guide covers the four components makers price against.
Frequently asked questions
How do you 3D print in multiple colors without an AMS?
Three ways that need no multi-material hardware: split the model into parts and print each in its own color, then assemble; pause at a set layer and swap filament by hand for horizontal color bands; or print in one color and paint it. Splitting and assembling gives the cleanest result and adds only about 7% to the filament, against 155% for a single-nozzle multi-material system on the worked example below.
How much filament does an AMS or MMU waste?
Enough that it can exceed the part. A four-color 120g model with 500 layers and three changes per layer performs 1,500 tool changes; at a working figure of 100mm³ flushed per change that is around 186 grams of purge, more plastic than the part itself contains. Flushing volumes vary by machine, slicer and color pair, so check yours.
Is multicolor 3D printing more expensive?
Substantially, on a single-nozzle system. The same 120g four-color model costs about $35 printed in one color and about $90 printed on an AMS-style system, because purge material and tool-change time both multiply the job by about two and a half. Printing four separate single-color parts and gluing them costs about $39.
How many colors can a 3D printer do at once?
A standard single-extruder printer does one color per print, or unlimited horizontal bands via manual swaps. Dual-extruder and IDEX machines do two. Single-nozzle multi-material units handle 4 to 16 colors from one hotend. Only binder jetting and PolyJet produce true full-color continuous gradients.
Is painting a 3D print better than printing it in color?
For detail work, yes. Paint reaches undercuts, blends, weathers and applies metallics that no filament reproduces, and a primed and painted print hides layer lines that a multicolor print still shows. Budget 2-6 hours of hand work for a model-sized piece, which is where the cost moves from material to labour.
Get Your Colour Print Quoted
Post the model, say how many colours you need and whether it can be split, and makers with the right hardware will bid. Payment stays in escrow until you approve photos of the finished parts.