Washer and Dryer Knob Replacement for Obsolete Models
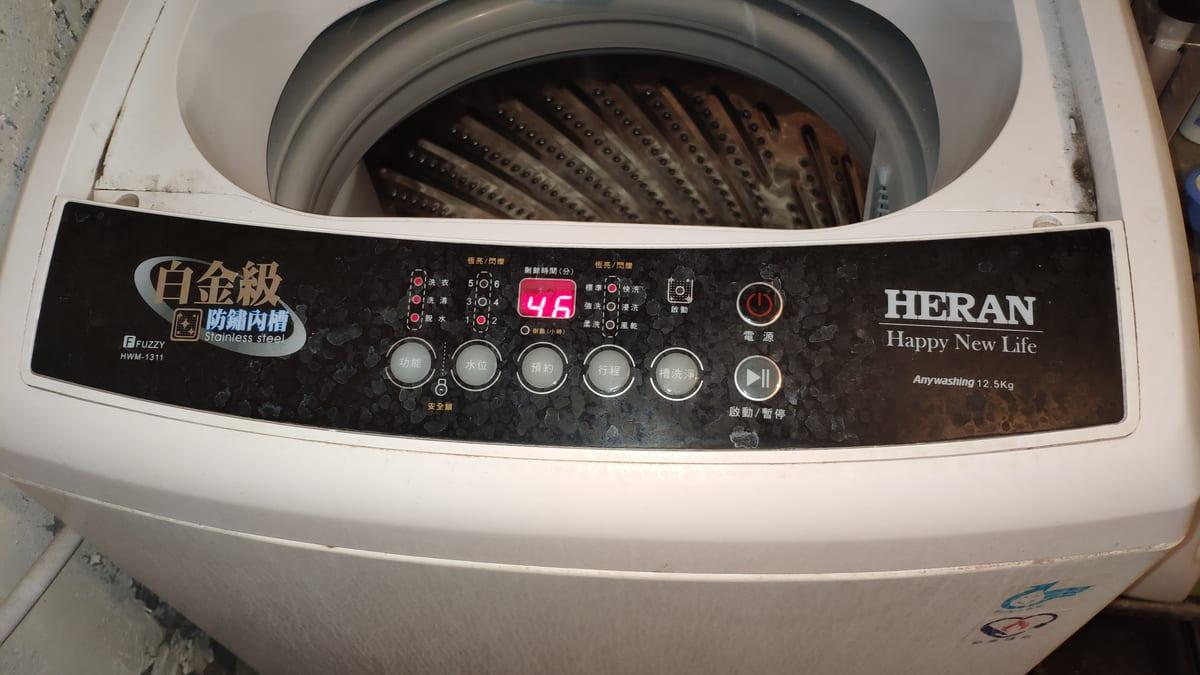
The knob came off in my hand mid-cycle. Not broken in an obvious way, just spinning freely on the shaft, because the little splined collar inside it had finally split. The machine works perfectly. It has washed clothes for eleven years and will wash them for another five. It just cannot be told what to do any more.
The part number for that knob has long since been superseded. This guide covers why that happens, what a made-to-order replacement costs, the four measurements a maker actually needs, and the one design detail that decides whether your new knob lasts a decade or three weeks.
How do you replace a washing machine knob when the part is discontinued?
Commission a 3D printed replacement. A single custom washer or dryer knob costs $25–55, and a matched set of three or four costs $45–90 as of July 2026. You supply caliper measurements of the shaft and a photo; the maker models the internal spline to match. Printed in PETG with a thick bore, it outlasts the original.
Last verified: July 2026
Key takeaways
- •A commissioned 3D printed washer or dryer knob costs $25–55 as of July 2026; filament accounts for under a dollar of that.
- •The splined bore is the only part that matters structurally. It needs at least 2mm of wall around the shaft, which is five perimeters at a 0.4mm nozzle.
- •PETG is the correct default. PLA deflects around 55°C and gets brittle under repeated torsion; a dryer console is the wrong place for it.
- •Four measurements quote the job: shaft diameter, flat-to-round dimension, spline count, and shaft protrusion from the panel.
- •Service parts availability is inconsistent and often ends within a few years of production, and cosmetic parts like knobs go out of stock first.
Why the Original Knob Is No Longer Available
Because a knob is the cheapest part on the machine and the most expensive to warehouse per dollar of revenue. There is no US requirement that a manufacturer keep service parts in stock, and no industry commitment to a fixed number of years, so availability is inconsistent from brand to brand and often ends within a few years of a model leaving production. Knobs are the first thing to go: they are bulky, they are model-specific, they cost a few cents to mould, and they tie up shelf space that a control board does not.
What usually happens first is not a discontinuation notice but a part number supersession. Your knob becomes "replaced by" a later part which fits a later panel and not yours. Retailers list it, you order it, and it arrives with the wrong spline count. That is a common route to commissioning a printed knob: people arrive having already bought the wrong part once.
The machine itself is fine. That is the frustrating part, and it is exactly the case our 3D printed replacement parts service exists for. A functioning appliance should not be scrapped over a twenty-gram piece of moulded plastic.
What a Replacement Actually Costs
A printed knob costs about the same as an in-stock OEM knob and rather more than a generic universal one. The reason to choose it is not price. It is that the OEM knob does not exist and the generic one does not fit your spline count.
Cost of a replacement washer or dryer knob by route
A commissioned printed knob costs $25–55, which is comparable to an in-stock OEM part. The comparison only matters when the OEM part is unavailable, which is the situation most people are in by the time they search for this.
| source | Typical low | Typical high |
|---|---|---|
| OEM knob, in stock | $18 | $70 |
| New old stock / salvage | $12 | $45 |
| Generic universal knob | $8 | $20 |
| Printed, single knob | $25 | $55 |
| Printed, set of 3-4 | $45 | $90 |
Source: Ranges compiled from 3D Print Bounty maker quotes and prices commonly listed by US appliance parts retailers, July 2026. Shown as ranges because knob pricing varies widely by brand and stock level.
That gap between half a dollar of plastic and a $40 quote is the part worth explaining. A knob is a small print, typically 30 to 60 minutes on the plate. The cost is almost entirely in modelling the internal spline correctly from your measurements, and in the fact that the first attempt sometimes does not seat properly and has to be adjusted and reprinted. Makers price that risk in. You can check the material side yourself with our 3D printing cost calculator.
Ordering a set is disproportionately cheaper than ordering one. The modelling work is done once, and on most panels the three or four knobs share a shaft profile. If two of your knobs are cracked and a third is going, order all of them now.
Identify Your Shaft Before You Do Anything Else
The shaft profile decides everything. Pull the broken knob off (they are a push fit, sometimes with a hidden set screw under the pointer) and look at the metal or plastic stub left behind. It will be one of five things.
| Shaft type | How to recognise it | Design note for the maker |
|---|---|---|
| D-shaft | Round with one flat side. Very common on timers and temperature selectors. | Needs the diameter and the flat-to-opposite-edge dimension. Both, not one. |
| Double-D | Two opposing flats. Looks like a flattened oval end-on. | Only fits one way in two orientations, so the pointer position must be specified. |
| Splined | Fine ridges all the way round. Tooth counts vary by manufacturer, so count them rather than assuming. | Count the teeth from a straight-on photo. Getting the count wrong makes a knob that either will not go on or spins freely. |
| Keyed round | Round with a single slot or raised key. | Key width matters more than diameter. Measure it. |
| Round with set screw | Plain round shaft, with a threaded hole in the old knob's skirt. | The printed knob needs a brass heat-set insert for the grub screw. Plastic threads strip. |
The One Design Detail That Decides Whether It Lasts
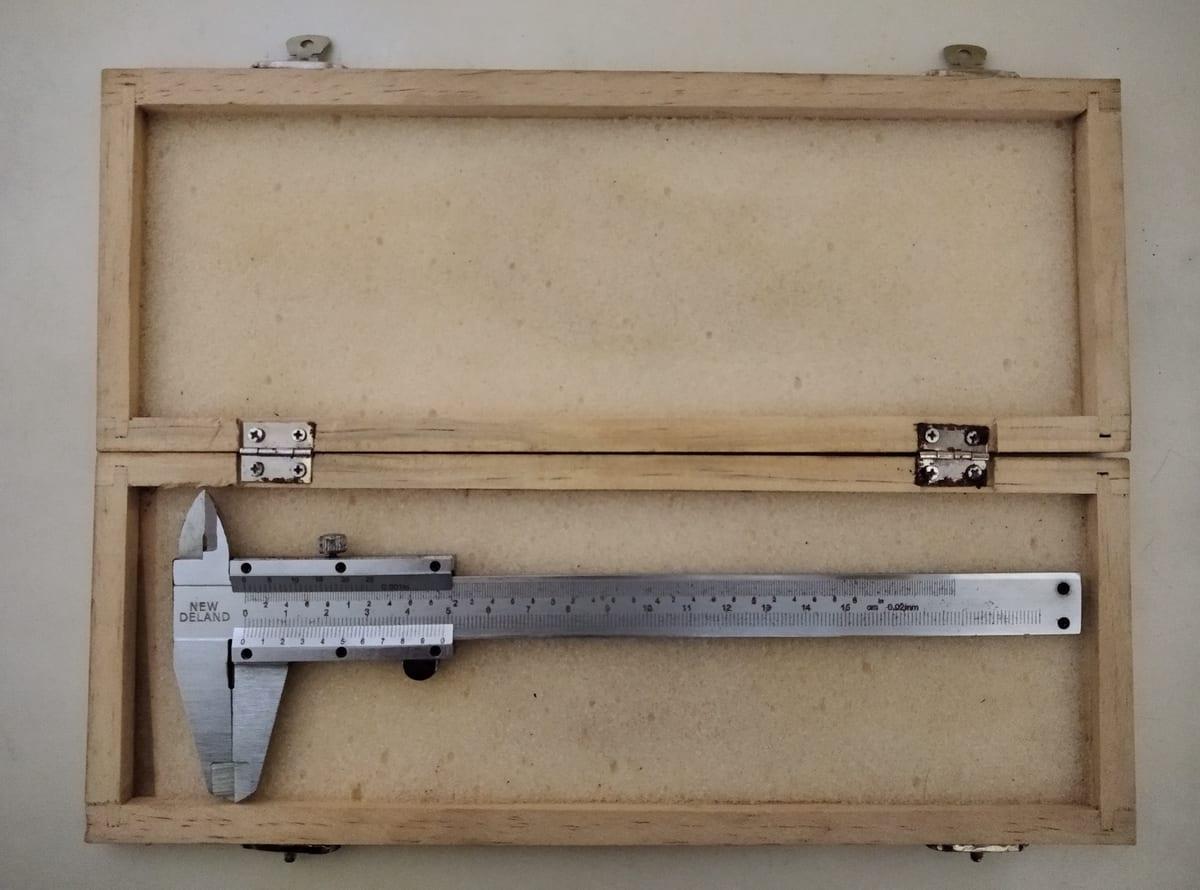
Wall thickness around the bore. Everything else about a knob is cosmetic; the bore is the only part carrying load, and it carries all of it in torsion.
A knob printed at default slicer settings has two or three perimeters, which at a 0.4mm nozzle is 0.8–1.2mm of wall, and roughly 15% infill behind it. That is genuinely enough for a light electronic selector and genuinely not enough for a mechanical timer, which can need real force to advance. Ask your maker for the following and the part becomes a non-issue:
Specify this on the job
- 2mm minimum wall around the shaft bore, which means 5 perimeters at a 0.4mm nozzle.
- 50% or higher infill in the boss region, even if the skirt stays at 15%.
- Printed face-down so the perimeter loops around the bore run in the same direction as the twisting force, rather than the torque working across the layer boundaries.
- A brass heat-set insert if the original used a grub screw. Adds a couple of dollars and removes the most common failure mode entirely.
Material: PETG for a Washer, PETG or ASA for a Dryer
PLA is the wrong answer here even though it is the cheapest and easiest to print. It deflects under load at around 55°C and it is notably brittle under repeated torsional load, which is precisely what a control knob experiences several times a week for years.
PETG holds its shape to 68°C and is much more forgiving of being twisted. For a dryer, where the console sits directly above a heated cabinet and can stay warm for hours, ASA at 93°C or ABS at about 100°C buys you another 25 to 32°C of headroom and is worth the small upcharge if your maker already runs an enclosed printer. Note that these are heat deflection figures at 0.45 MPa, not glass transition temperatures; a part under sustained load can creep well below its HDT.
Heat deflection temperature by filament, at 0.45 MPa
PLA deflects at about 55°C, which is too close to the temperature a dryer console reaches for comfort. PETG at 68°C, and ASA at 93°C or ABS at about 100°C, give a control knob real margin.
| material | Heat deflection temp (°C) |
|---|---|
| PLA | 55°C |
| PETG | 68°C |
| ASA | 93°C |
| ABS | 100°C |
Source: Prusament PLA, PETG and ASA technical data sheets and the Polymaker PolyLite ABS TDS V5.5, heat deflection temperature at 0.45 MPa, July 2026
What to Send With Your Request
Send all of this in the first message and you get a firm quote instead of a conversation. The same checklist applies to most small appliance parts, and our guide to getting a broken part 3D printed covers the general version.
- Shaft diameter measured with calipers, in millimetres to two decimal places.
- Flat-to-round dimension for a D-shaft, or the spline count for a splined shaft.
- Shaft protrusion, meaning how far the shaft stands proud of the panel. This sets the skirt depth.
- Knob face diameter from the old knob, or the spacing between knob centres if the old one is gone.
- A straight-on photo of the shaft end next to a ruler or coin. This catches errors in everything above.
- Brand, model number and approximate year. Some makers will already have a model on file.
- Whether the pointer position matters. On a timer it does, and it needs to be indexed to the shaft.
When a Printed Knob Is Not the Answer
If the shaft itself is stripped, a new knob will not help. Rotate the bare shaft with pliers; if the machine responds correctly, the shaft is fine and the knob is the problem. If it slips or the cycle does not change, the timer or switch behind the panel has failed and you need the mechanism, not the cover.
If the knob is a backlit or indicator-integrated assembly with a light pipe running through it, printing it is possible but the light diffusion will not match. Say so upfront so the quote reflects a translucent filament and nobody is disappointed.
And if a generic universal knob with the correct spline count exists for eight dollars, buy the generic knob. It will look slightly wrong and it will work. Printing is for when the fit is genuinely unique.
Frequently asked questions
How much does a 3D printed washing machine knob cost?
A commissioned 3D printed washer or dryer knob costs $25–55 for a single knob and $45–90 for a matched set of three or four, as of July 2026. Filament is under a dollar of that. The rest is measuring your shaft profile, modelling the part, and printing it with enough shell thickness that the splined bore survives being twisted.
Can a 3D printed knob really take the torque of a washer timer?
Yes, if the bore is designed for it. Mechanical timers need real torque and that force lands entirely on the internal splines. A printed knob with at least 2mm of wall around the shaft — five perimeters at a 0.4mm nozzle — and 50%+ infill in the boss handles it. A thin-walled knob printed at default settings splits within weeks.
What material should a washer or dryer knob be printed in?
PETG for a washer, PETG or ASA for a dryer. PLA deflects near 55°C, and a dryer console sits above a heated cabinet all day. PETG stays rigid to 68°C and is far less brittle than PLA under repeated twisting, which is the exact load a control knob sees.
How do I measure my washing machine shaft for a replacement knob?
Pull the old knob, then measure with calipers: the shaft diameter, the flat-to-round dimension if it is a D-shaft, the number of splines if it is splined, and how far the shaft protrudes from the panel. Photograph the shaft end-on next to a ruler. Those four numbers plus a photo are enough for a maker to quote.
Why can I not buy a replacement knob for my washing machine any more?
Because parts availability is inconsistent and often ends within a few years of a model leaving production. There is no US requirement to keep stocking them, and cosmetic parts like knobs tend to disappear first because they are cheap, bulky to warehouse and low-margin. Once the part number is superseded, the only routes left are salvage machines or a made-to-order replacement.
Get Your Knob Quoted
Post your shaft measurements, a photo of the shaft end and your machine's model number. Makers who have printed appliance knobs before will bid, and your payment stays in escrow until you have the part in your hand and it fits.