3D Printing an Iron Man Suit: What to Outsource
A full Iron Man armor build is not one print. It is thirty to sixty separate plates, most of them awkward shells that need supports, printed over roughly 300 hours of machine time. Then comes the part nobody photographs: sixty hours of sanding, a dozen rounds of filler primer, and the discovery that your forearm section fits a mannequin and not you.
The useful question is not "can I print this" but "which parts of this should I hand to someone else." This guide breaks the build into stages, puts real numbers on each one, and says plainly which stages are worth outsourcing and which are a waste of money.
How much does it cost to 3D print an Iron Man suit?
A full Iron Man-style armor set costs $450–1,200 as raw commissioned prints and $1,200–3,000 finished, painted and strapped. Filament is only $57–180 of that, because a full adult set consumes 3–6kg at $19–30/kg. The rest is 300 hours of print time and about 140 hours of hand finishing.
Last verified: July 2026
Key takeaways
- •A full adult-size armor set uses 3–6kg of filament, which is $57–180 of material at $19–30/kg for PLA.
- •Machine time for a full set is around 300 hours; hands-on finishing time is around 140 hours.
- •Commissioning raw prints costs $450–1,200 and removes the 300 machine hours without removing the fun part.
- •Commissioning finished, painted armor costs $1,200–3,000 because paint prep is the single largest labour line.
- •The helmet alone is a legitimate first project: $120–250 raw, $250–600 finished.
What Each Section Actually Costs
Armor is priced by section, not by suit, because almost nobody commissions everything at once. A typical build starts with the helmet, adds the chest and back over the next few months, and finishes with the legs. Quoting section by section is also how you keep the project from stalling: each piece is wearable progress.
The gap between the raw and finished columns below is the whole story of this hobby. Printing a chest plate is cheap. Making a printed chest plate stop looking like a printed chest plate is not.
Commissioned cost by armor section, raw prints vs finished parts
Finishing multiplies the cost of every section by roughly two and a half. These are midpoints, and they sum to about $825 raw and $2,100 finished, which sits mid-band in the $450-1,200 and $1,200-3,000 full-set ranges. Raw prints are the cheapest way to buy back the 300 hours of machine time while keeping the sanding and paint work for yourself.
| section | Raw prints | Finished + painted |
|---|---|---|
| Helmet | $185 | $425 |
| Chest + back | $210 | $575 |
| Arms + gauntlets | $160 | $425 |
| Legs + boots | $185 | $475 |
| Hands + details | $85 | $200 |
Source: 3D Print Bounty maker quotes and comparable independent cosplay commissions, July 2026. Midpoints of quoted ranges.
That number surprises people who assumed the plastic was the expensive part. It is not. You can check the material side of any specific file yourself with our 3D print cost calculator before you ask anyone for a quote, which is the fastest way to tell a fair bid from a padded one.
One caution on the low end of those ranges. A quote at the bottom of the band is buying speed, which means coarse layers, few perimeters and low infill. That is fine for a display piece and marginal for something you will wear through a convention floor, kneel in for photos, and pack in a car. Ask any maker what layer height, perimeter count and infill their number assumes; if you want armor that survives a weekend, say so in the brief and expect the quote to move up.
Where the Hours Actually Go
Printing dominates the calendar and barely touches your weekends. Finishing is the reverse: it consumes almost no machine time and eats every evening you have. This is why the outsourcing decision is not obvious, and why the naive answer of "just buy a printer" solves the wrong half of the problem.
Machine hours vs hands-on hours for a full armor set
Printing accounts for about 300 unattended machine hours but only 15 hands-on hours. Sanding and filling account for zero machine hours and around 60 hands-on hours, making finishing the real time cost of a build.
| stage | Machine hours (unattended) | Your hands-on hours |
|---|---|---|
| Printing | 300 | 15 |
| Support removal | 0 | 10 |
| Sanding + filling | 0 | 60 |
| Priming | 0 | 12 |
| Painting | 0 | 25 |
| Straps + assembly | 0 | 20 |
Source: Stage estimates for one adult-size set on a 256mm-class FDM printer, compiled from 3D Print Bounty maker build logs, July 2026
What to Outsource and What to Keep
Outsource the printing. Keep the finishing, unless you have a hard deadline. That is the default answer for most builders, and the table below explains why each stage falls where it does.
| Stage | Verdict | Why |
|---|---|---|
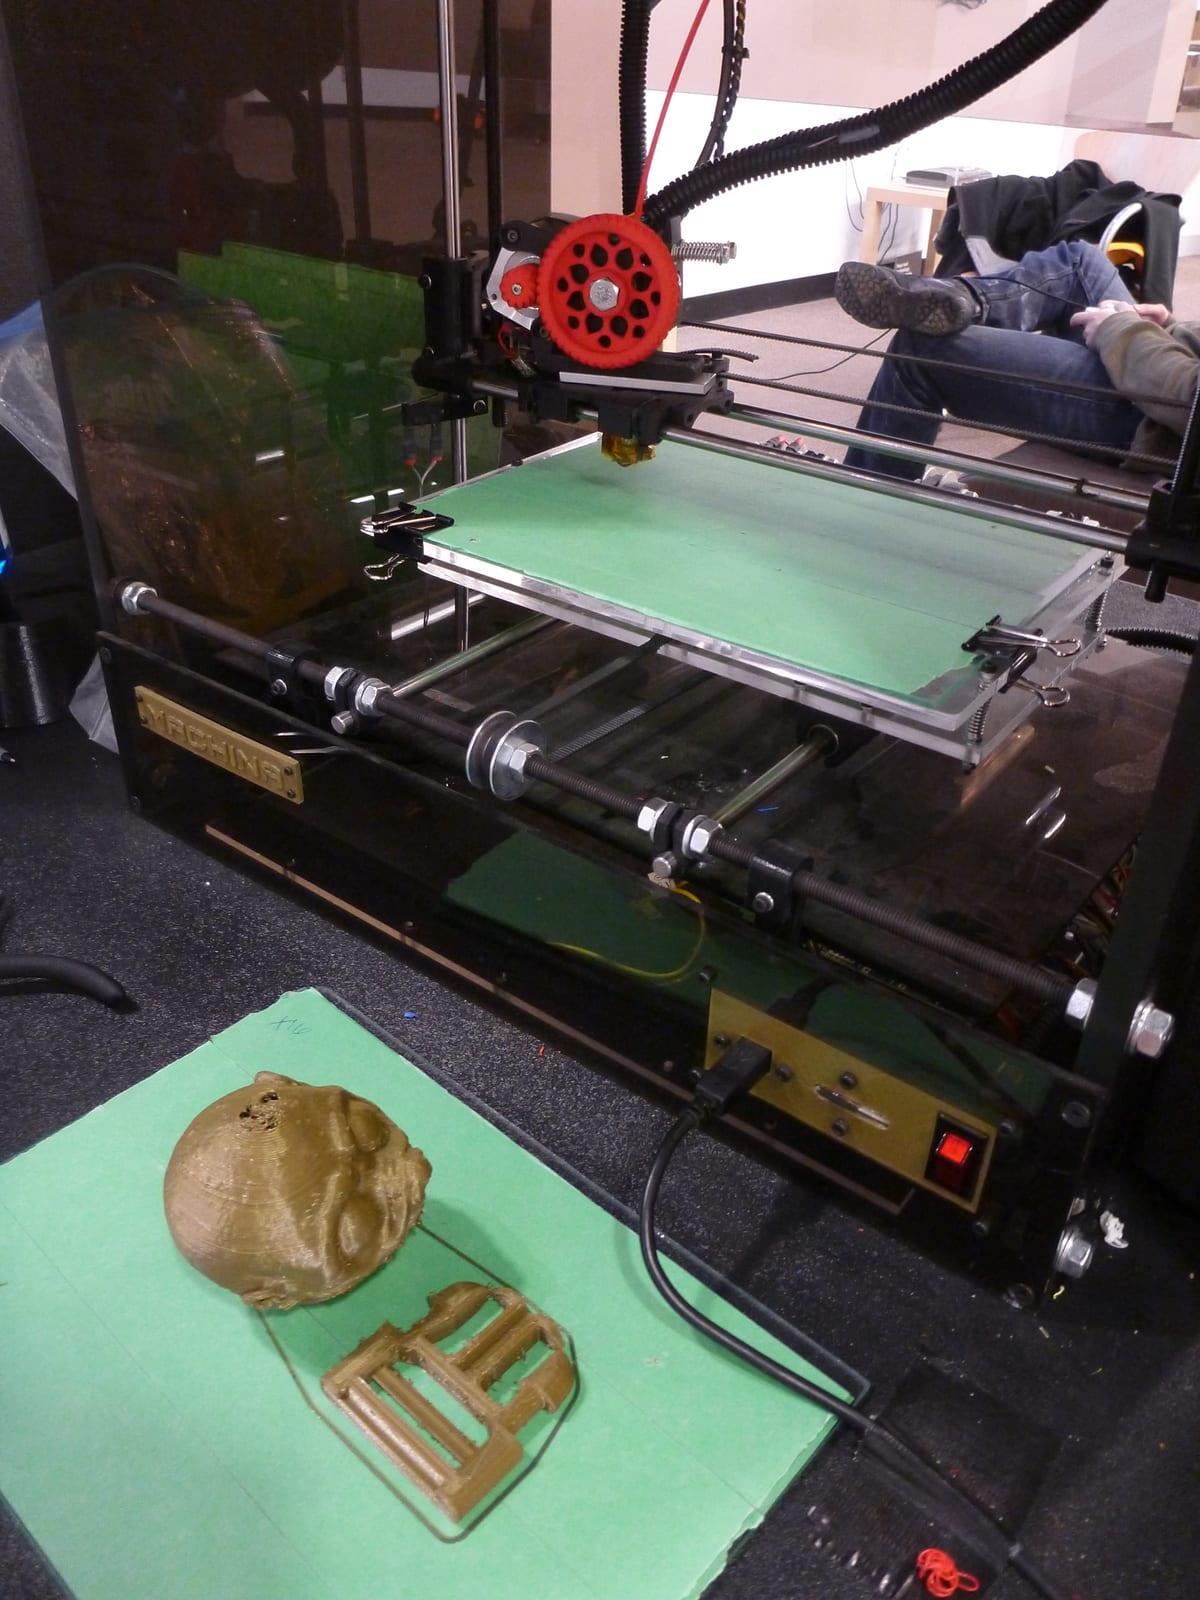
| Printing the panels | Outsource | 300 machine hours, 30–60 plate changes and a real chance of a 14-hour failure at hour 13. Skill transfer to you is close to zero. |
| Scaling to your measurements | Outsource, with your numbers | Section-by-section scaling is a modelling job. Send measurements; do not let anyone scale uniformly off your height alone. |
| Sanding and filling | Keep | It is roughly 60 hours of unskilled but tedious work, and it is the single largest line item when a maker does it. Doing it yourself is where the money is saved. |
| Paint and clear coat | Keep, unless you want candy red | Rattle-can metallics get you 80% of the way. A true candy or house-of-kolor finish needs a spray booth and is the one finishing stage worth paying a specialist for. |
| Straps, foam and padding | Keep | Nobody can fit a suit to your body remotely. This is 20 hours of trying things on and moving buckles 10mm at a time. |
| Electronics and lighting | Keep | An arc reactor is a diffuser, a ring of LEDs and a battery. Cheap, low risk, and the part that gets the most reaction for the least effort. |
Sizing: The Mistake That Costs a Reprint
Published armor files are modelled around one reference body, and it is almost never yours. Scaling the whole set by a single percentage derived from your height is the error that sends builds back to the printer, because human proportions do not scale uniformly. A 6ft 3in builder with a 40in chest and a 5ft 8in builder with a 46in chest need opposite adjustments.
Send these six numbers with any quote request, measured over the clothing you plan to wear under the suit:
- Chest circumference at the widest point
- Shoulder point to shoulder point, across the back
- Bicep circumference, flexed
- Forearm circumference at the widest point
- Thigh and calf circumference
- Head circumference and chin-to-crown height, for the helmet
Add 15–20mm of internal clearance on every circumference for foam padding and the fact that you will be moving. Armor that fits perfectly standing still is armor you cannot sit down in. Our cosplay props and armor printing service page covers what makers need in a brief in more detail.
Material: PLA for Panels, PETG for Anything That Moves
Print armor panels in PLA. It is stiff, dimensionally accurate, cheap, and it sands and accepts filler primer better than any other common filament. PETG and ABS both gum up sandpaper in a way PLA does not, and on a build with 60 hours of sanding that difference is not academic.
PLA has one real weakness: it softens around 55°C. A car parked in summer sun reaches that easily, and a warped chest plate is scrap. Transport armor in the cabin, not the boot, and never leave it in a car overnight before a convention.
Use PETG for hinges, living tabs, strap anchors and any part that flexes in use, where PLA's brittleness becomes a failure point rather than an inconvenience. Resin is the wrong tool for large armor: it is more expensive per gram, more brittle under impact, and its fine-detail advantage is invisible once a panel is primed and painted. Reserve it for small hero details like arc reactor bezels and repulsor lenses.
Files, Licences and What We Will Not Print
Iron Man is a Marvel character and a registered trademark. 3D Print Bounty is not affiliated with, endorsed by or sponsored by Marvel or Disney, and this article is about the printing process and its cost, not about where to obtain character models.
We do not host, mirror or link to character STL files, and makers on the platform print only the files you supply. That puts one obligation on you: you must hold the right to print what you send. Patreon, Gumroad and MyMiniFactory do not set licence terms for the models sold through them — each designer does, and those terms vary from unrestricted to personal use on your own printer only. Where a file is personal-use, a commercial print service fulfilling it is a different act from you printing it at home. Read the licence you bought, and tell your maker what it says.
We decline jobs that are clearly commercial reproduction of a copyrighted character design: batches of the same helmet, anything described as stock for resale, anything where the requester is not the end wearer. That is a deliberate policy rather than legal caution for its own sake. It keeps makers on the platform out of a category of trouble they cannot price for, and it is why the makers who do cosplay work here are willing to put their name on a build.
When a Full Suit Is the Wrong Project
Be honest about the finish line. A full articulated set is a four to eight month project for a first-time builder, and the most common outcome is a beautiful helmet, a primed chest plate and a box of unsanded legs. If you have one convention in mind and three months to get there, build the helmet and a pair of gauntlets, wear them with a well-fitted undersuit, and finish the rest for next year.
A helmet on its own is a genuinely good project: it is $120–250 as a commissioned raw print, about 30 hours of machine time, and roughly 15 hours of finishing. It also teaches you the whole workflow at a scale where a mistake costs an evening rather than a month.
Frequently asked questions
How much does it cost to 3D print an Iron Man suit?
A full armor set costs $450–1,200 as raw unfinished prints commissioned from an independent maker, and $1,200–3,000 finished, painted and strapped. Filament alone is only $57–180 for the 3–6kg a full adult-size suit consumes at $19–30/kg. Everything above that is print hours, sanding, filling and paint.
How long does it take to print a full Iron Man armor set?
Around 300 hours of machine time on a single 256mm-class printer, spread over 30–60 separate plates. Add roughly 140 hours of hands-on work for support removal, sanding, filling, priming, painting, strapping and assembly. Most first-time builders take four to eight months of evenings.
What material should Iron Man armor be printed in?
PLA for almost every panel. It sands and fills better than anything else, it is rigid enough for armor plates, and it is the cheapest. Use PETG only for hinges, straps and flexing tabs. Avoid leaving any PLA armor in a hot car, since PLA softens around 55°C and a warped chest plate cannot be un-warped.
Can I pay someone to print Iron Man armor for me?
Yes. Most cosplayers commission the raw prints and do their own finishing, because sanding and paint are where the cost multiplies. You supply the files you have licensed, the maker prints and ships the parts. Expect $450–1,200 for a full raw set and 3–8 weeks of lead time for a single-printer maker.
Do I need to scale the files to my body?
Almost always. Published armor files are modelled around a single reference build that is rarely your proportions. Scaling uniformly by height distorts the chest and shoulders, so measure chest circumference, shoulder-to-shoulder width, bicep, forearm, thigh and calf, and scale each section separately. Getting this wrong is the most common reason a build gets reprinted.
Get Your Armor Printed
Post the files you have licensed, your measurements and which sections you want first. Makers with cosplay builds in their history will bid, and your payment stays in escrow until you have approved photos of the actual parts.