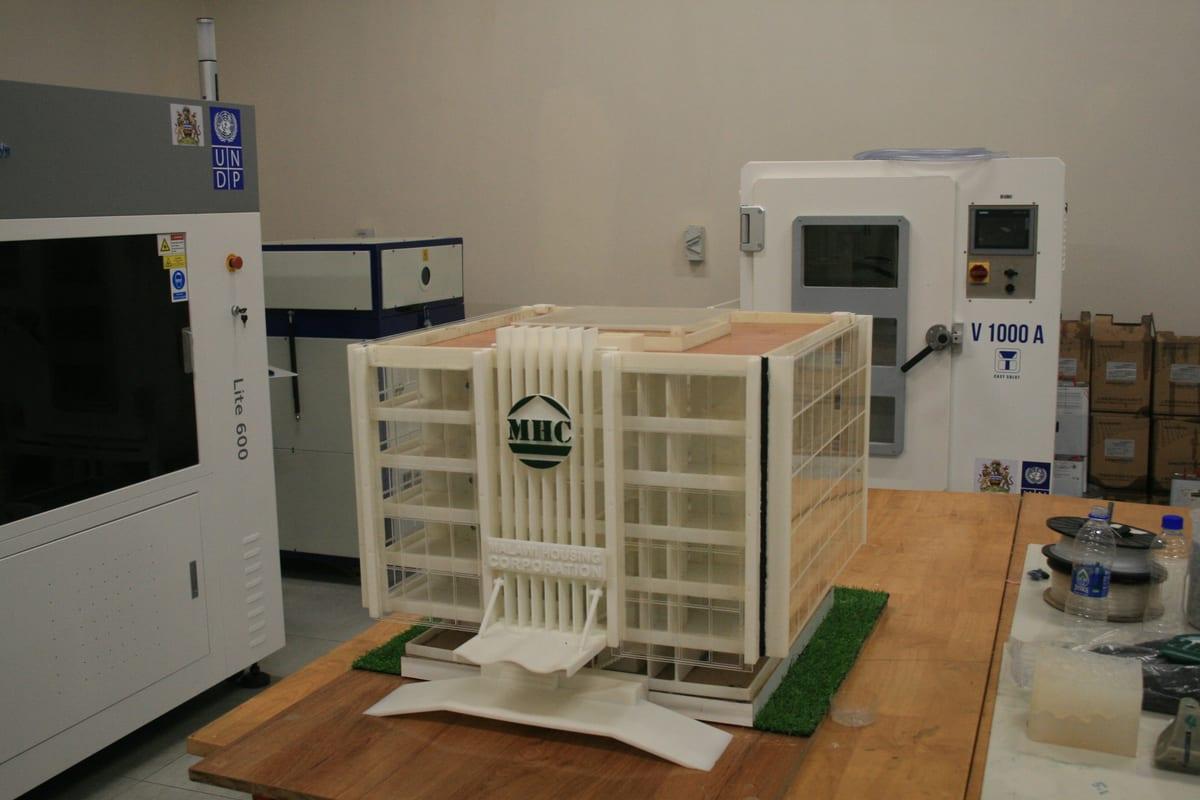
3D Printed Architectural Models: Costs and Process
The crit is in nine days, the Rhino file is 400MB, and someone has suggested 3D printing the model instead of cutting it out of chipboard again. That is usually the right call. It is also the point at which two things go wrong: the geometry turns out not to be a solid, and the scale someone picked makes half the facade physically unprintable.
This is the practical version. What a printed model costs, how to choose a scale from your smallest important detail rather than from the building, why architectural CAD almost never exports cleanly, and how to split a model that does not fit on one build plate.
What does a 3D printed architectural model cost, and how do I choose a scale?
A 3D printed massing or study model costs $80–250 commissioned; a presentation model with site context runs $300–1,200. Filament is only $5.70–18 of that. Choose scale from your smallest detail: FDM cannot print a wall under about 0.8mm, so at 1:200 anything under 160mm in real life disappears entirely.
Last verified: August 2026
Key takeaways
- •Commissioned costs as of August 2026: massing model $80-250, single building at 1:100 $200-600, presentation model with context $300-1,200, sectional or interior model $500-2,500.
- •Filament for a typical 250mm massing model is 300-600g, which is roughly $5.70-18 at $19-30 per kilogram.
- •FDM has a practical minimum wall of 0.8mm, two perimeters at a 0.4mm nozzle. Multiply by your scale denominator to find the smallest real-world element that will appear.
- •Desktop FDM build volumes are typically 220x220x250mm to 256x256x256mm, so any model over about 250mm has to be sectioned and joined.
- •The delay that catches studios out is not printing. It is repairing non-manifold CAD geometry, which takes one to four hours on a real project file.
Choose the Scale From Your Smallest Detail
Disappointing printed models usually come from picking a scale so the building fits the print bed, then discovering the facade has vanished. Work the other way around. Identify the thinnest element that has to be legible, divide its real dimension by the scale denominator, and check the result against the minimum feature size of the process.
FDM with a standard 0.4mm nozzle needs two perimeters to make a wall that survives handling, so 0.8mm is the practical floor. Desktop MSLA resin resolves features down to roughly 0.3mm once you allow for washing and curing. Anything below those numbers is not a thin detail; it is nothing at all.
Smallest real-world element that survives, by model scale
At 1:200 an FDM printer cannot reproduce anything thinner than 160mm in real life, which removes mullions, railings and most trim. Resin cuts that limit by roughly 60 percent — 0.3mm against 0.8mm — at the cost of a much smaller build volume.
| scale | FDM minimum (mm, real world) | Resin minimum (mm, real world) |
|---|---|---|
| 1:20 | 16mm | 6mm |
| 1:50 | 40mm | 15mm |
| 1:100 | 80mm | 30mm |
| 1:200 | 160mm | 60mm |
| 1:500 | 400mm | 150mm |
| 1:1000 | 800mm | 300mm |
Source: Calculated from a 0.8mm practical FDM minimum wall (two perimeters at a 0.4mm nozzle) and a 0.3mm desktop MSLA minimum feature, multiplied by the scale denominator. August 2026.
| Scale | Typical use | A 30 × 20m building becomes | What reads at this scale |
|---|---|---|---|
| 1:1000 | City and district masterplans | 30 × 20mm | Massing and street pattern only |
| 1:500 | Site and context models | 60 × 40mm | Massing, roof form, major setbacks. Print context blocks in resin if you want crisp edges. |
| 1:200 | A single tower or large building | 150 × 100mm | Window openings and balconies. Mullions and railings do not survive in FDM. |
| 1:100 | Standard presentation scale for one building | 300 × 200mm | Facade articulation, deep reveals, stairs. Needs splitting on most printers. |
| 1:50 and 1:20 | Sectional, interior and detail models | 600 × 400mm and larger | Furniture, handrails, cladding joints. Always a multi-part assembly. |
What a Printed Model Costs
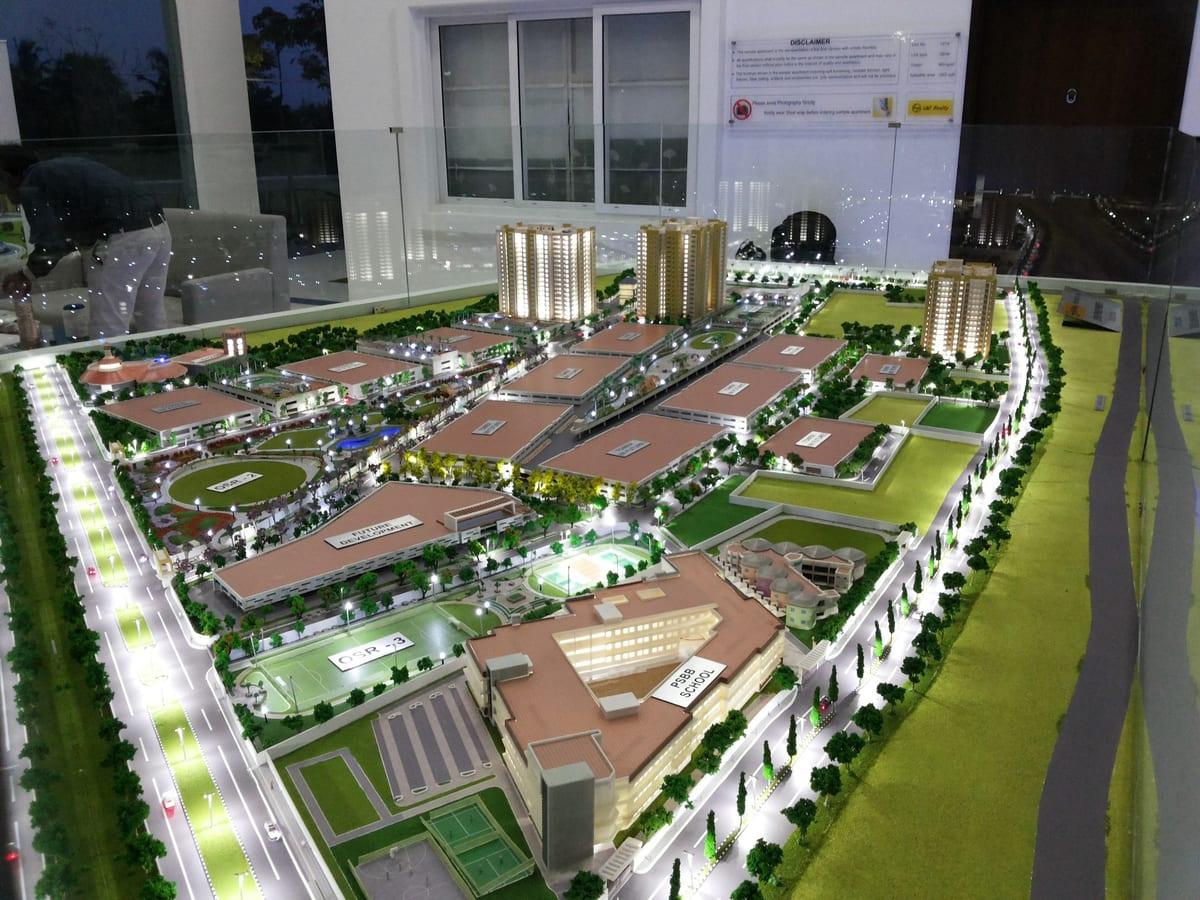
Material is a rounding error. A 250mm massing model uses roughly 300–600g of PLA, which at $19–30 per kilogram is $5.70–18. Everything above that is file preparation, print hours spread across several plates that each have to be started and cleared, and finishing.
Typical commissioned cost by architectural model type
Study and massing models run $80-250 commissioned. Presentation models with site context and finishing sit at $300-1,200, and sectional or interior models at $500-2,500.
| type | Typical low | Typical high |
|---|---|---|
| Massing / study | $80 | $250 |
| Single building, 1:100 | $200 | $600 |
| Presentation + context | $300 | $1200 |
| Sectional / interior | $500 | $2500 |
Source: Ranges from 3D Print Bounty maker quotes and comparable independent model-making commissions, August 2026. Presented as ranges because file condition and finishing requirements dominate the price.
You can price the material side of your own geometry with our 3D printing cost calculator before you ask anyone for a quote, and the 3D printing cost guide explains why the machine-time line is usually larger than the plastic line.
Two things move a quote more than size does. The first is whether your file is watertight when it arrives. The second is finishing: a raw FDM model with visible layer lines is a different product from a sanded, filler-primed, spray-painted one, and the second can double the labour.
Why Your Revit or Rhino Export Will Not Print
Architectural CAD is built for drawings and renders, not for manufacturing. That means a model can look perfect on screen and still be unprintable, because printing requires a closed, watertight solid and your file is a collection of surfaces.
Four failures account for most unprintable architectural exports:
- Zero-thickness walls. A wall modelled as a single surface has no volume to fill. Every one has to be thickened, and at model scale the thickness is usually driven by printability rather than the real construction.
- Open solids. Missing roofs, open floor slabs and buildings with no underside. Rendering does not care; slicers do.
- Interior geometry you do not need. Full Revit families for every door handle, pipe and light fitting inside a massing model. It bloats the file and none of it will print at 1:200.
- Self-intersecting and duplicated geometry. Overlapping components from copy-paste modelling, which produce inverted normals and holes on export.
The fix is a repair pass in Blender's 3D-Print Toolbox, Microsoft 3D Builder, Netfabb or Rhino's ShrinkWrap. Budget one to four hours for a real project model, and expect a maker to price that time if you send an unrepaired export. Our guide on preparing a 3D model for printing covers the checks in order.
One practical shortcut: for a massing or study model, do not export the design model at all. Rebuild the volumes as simple closed solids in a fresh file. It is often faster than repairing the original and it prints first time.
Splitting a Model That Does Not Fit the Bed
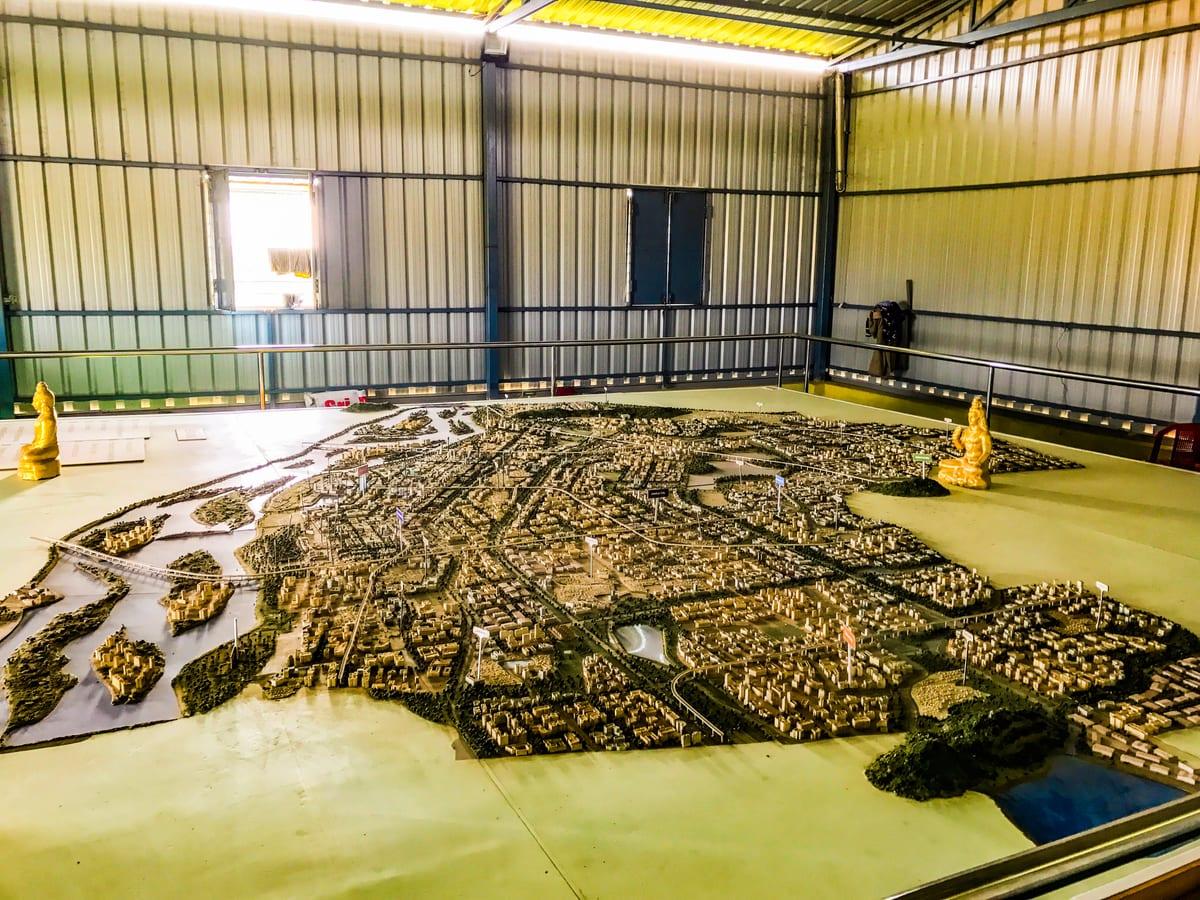
Desktop FDM build volumes cluster around 220 × 220 × 250mm on older machines and 256 × 256 × 256mm on current mid-range ones. Desktop MSLA resin printers are smaller still, with build areas closer to 220 × 125mm. Any model over roughly 250mm in its longest dimension is a multi-part assembly, and how you split it decides whether that reads as craft or as damage.
Put seams where the building already has lines. Floor slabs, expansion joints, a change of cladding, the top of a podium. A horizontal cut at a slab line disappears. The same cut halfway up a blank wall is the first thing anyone notices.
Add alignment features, not just flat faces. Two or three 3mm pin-and- socket pairs with 0.2mm clearance will locate parts far more accurately than gluing flat surfaces together, and they let you dry-fit before committing.
Split the site base into tiles with a lip. A 400 × 400mm base becomes four tiles with an overlapping rebate on two edges of each, so they self-align and the joint has glue area.
Splitting also unlocks the one real advantage of commissioning over doing it yourself: several makers can print different sections in parallel. A 40-hour model that has to run sequentially on your studio's single printer takes five days. Split across three machines it takes two. Our note on how long 3D printing actually takes has the arithmetic.
Material and Finish Choices That Matter
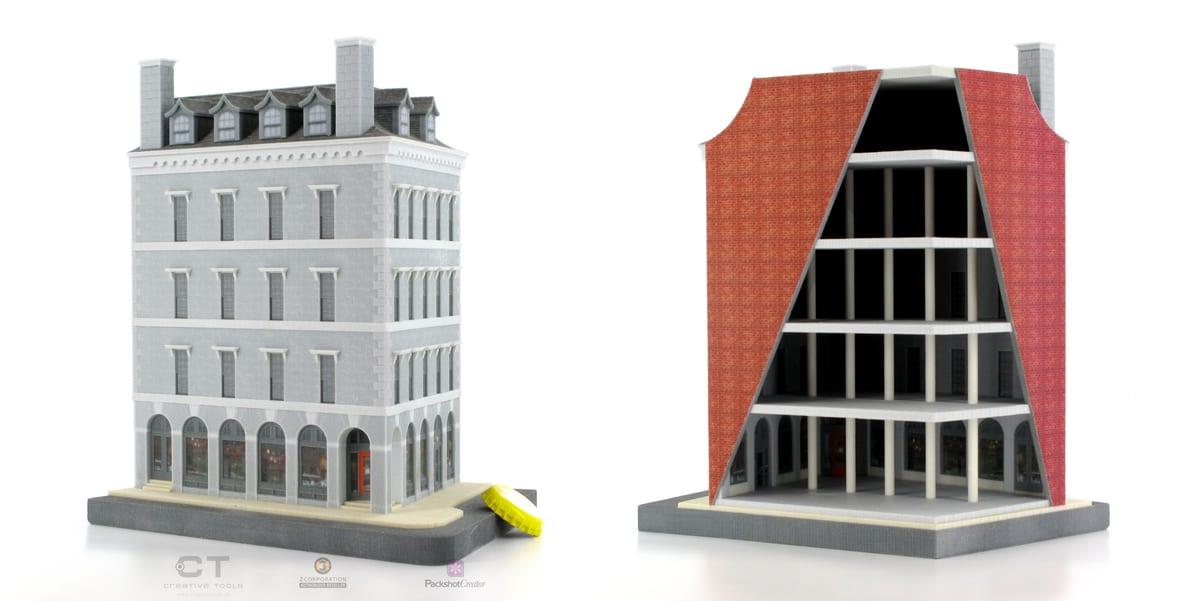
White or light grey PLA for almost everything. It prints accurately at large flat geometry, it is stiff, and the traditional monolithic white model reads well under gallery lighting without any painting. It softens around 55°C, which matters only if the model sits in a car or a sunlit window for hours.
Clear resin or laser-cut acrylic for glazing. Transparent FDM filament is not actually transparent; layer lines scatter light and it comes out frosted. If the glass needs to look like glass, print the frame and drop in a separate clear element.
Resin for the small detailed pieces only. Trees, tracery, sculptural elements and 1:500 context blocks. Resin models are brittle and yellow under UV over time, so they are a poor choice for anything that gets handled at a crit or lives on a windowsill.
Finishing is a real cost line. Sanding, two coats of filler primer and a top coat turns a visibly layered print into a clean object, and takes several hours per component. Decide before you commission whether you want raw or finished, because it is the single biggest swing in the quote.
What to Send With Your Request
Send all of this and you get a firm quote instead of a week of back-and-forth. It is a short list because the answers are all things you already know.
| What to send | Why it changes the quote |
|---|---|
| Target scale and overall footprint | Determines how many plates and therefore most of the print hours. |
| The file, plus what it was exported from | A Revit export and a clean Rhino solid are hours apart in preparation time. |
| Whether you need context and terrain | Site context often doubles the printed volume and needs data you may have to supply from GIS or survey. |
| Raw or finished | Sanding, priming and painting is several hours per component and the largest single variable. |
| Your hard deadline | A model that has to be split across several makers to hit a crit date is a different job from one with three weeks of slack. |
Frequently asked questions
How much does a 3D printed architectural model cost?
A massing or study model commissioned from an independent maker typically costs $80-250. A presentation model with site context and several buildings runs $300-1,200, and a detailed sectional or interior model $500-2,500. Filament is only $5.70-18 of that; the rest is file preparation, print hours across multiple plates, and finishing.
What scale should I 3D print an architectural model at?
Pick the scale from your smallest important detail, not from the building size. FDM cannot reliably print a wall thinner than about 0.8mm, so at 1:200 anything under 160mm in real life disappears. Use 1:500 or 1:1000 for masterplans, 1:200 for a tower, 1:100 or 1:50 for a single building with facade detail.
Can I 3D print straight from Revit, Rhino or SketchUp?
Rarely without repair work. Architectural CAD models are usually surfaces rather than watertight solids, with zero-thickness walls, missing roofs and self-intersecting geometry. Export to STL or 3MF, then check and repair in Blender, Microsoft 3D Builder or Netfabb. Budget one to four hours for this on a real project model.
How long does it take to 3D print an architectural model?
A single 1:200 tower is typically 6-14 hours of print time. A 300x300mm site base with context buildings usually needs to be split across several plates and totals 30-60 hours. Give a maker at least five days for a presentation model, and more if it needs sanding, priming and painting.
Should an architectural model be printed in FDM or resin?
FDM for anything larger than a fist, because build volumes are bigger and the parts are tough enough to handle. Resin for small, detailed pieces such as 1:500 context blocks, tracery, railings or a clear glazing element, since MSLA resolves features down to roughly 0.3mm. Most real models use both.
Get Your Model Quoted
Post the file, the scale and the deadline. Makers who have printed architectural models before will bid, and your payment stays in escrow until you have seen photos of the finished parts and approved them.