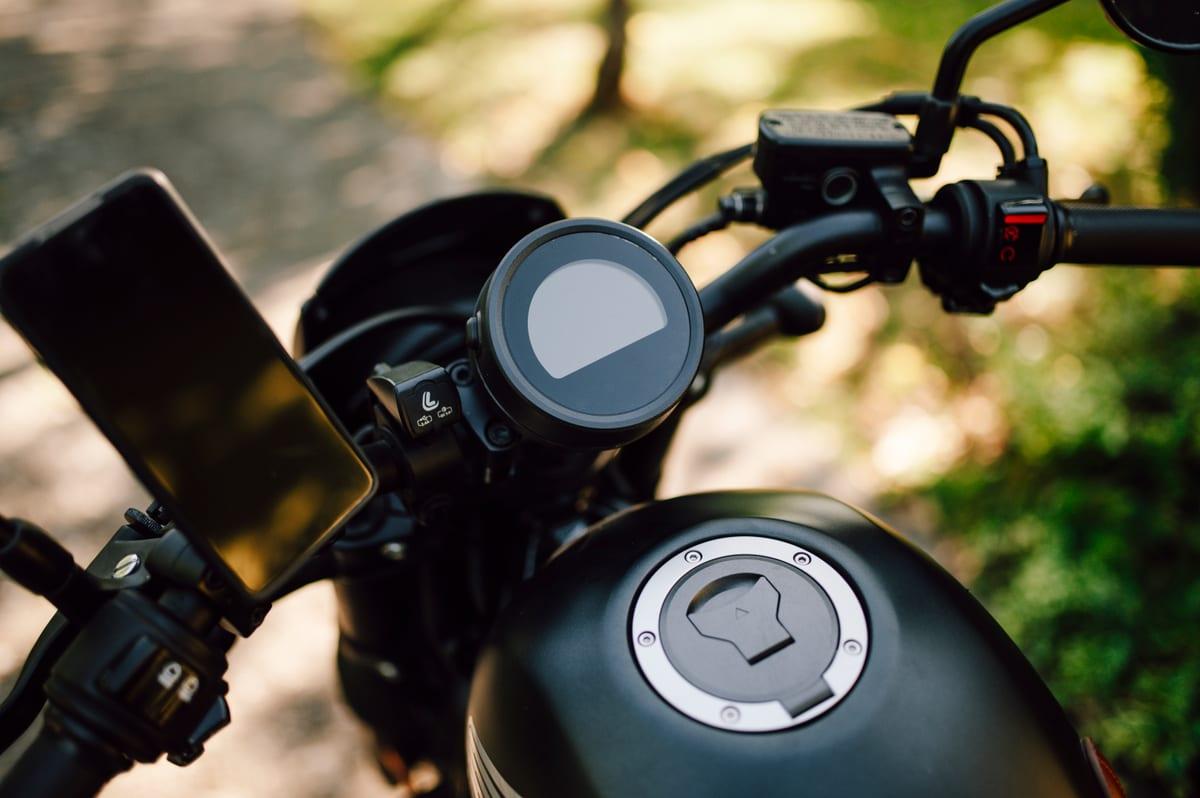
Custom 3D Printed Motorcycle Parts and Brackets
The part you need is a 40 gram piece of black plastic. It holds a wiring loom away from a hot pipe, or it is the trim clip that stops a side panel rattling. It has been discontinued for years, surviving new-old-stock examples are commonly listed at anywhere from $60 to well over $100 once overseas shipping is counted, and the bike is otherwise fine. This is the single most common 3D printing job in motorcycling, and it is also the one where people most often print the wrong thing.
Below: which parts are genuinely printable, which materials survive being bolted to a vibrating engine that sits in the sun, what commissioned parts cost, and the short list of jobs no reputable maker should accept.
Can you 3D print motorcycle parts, and what do they cost?
Yes, for non-structural parts: brackets, phone and GPS mounts, dash bezels, trim clips and discontinued fairing panels. Commissioned parts run $35–90 for a bracket and $150–400 for a fairing infill panel. Use ASA or PA6-CF nylon, never PLA. Engine bay temperatures reach 90–140°C and PLA's heat deflection temperature is 55°C at 0.45 MPa.
Last verified: August 2026
Key takeaways
- •Printable: brackets, mounts, trim clips, dash bezels, cable guides, side panels, fuse covers, and discontinued fairing infills.
- •Not printable at any price: brake, clutch, steering, suspension and footpeg components, plus anything carrying a DOT or ECE approval mark.
- •ASA is the default exterior material because it is UV-stable and has a 93°C heat deflection temperature at 0.45 MPa (Prusament ASA TDS). PLA sits at 55°C and yellows outdoors.
- •Vibration is the real killer, not load. Printed parts fail along layer lines under cyclic loading, so orientation and rubber-isolated mounting matter more than infill percentage.
- •Commissioned costs run $35–90 for a bracket and $150–400 for a fairing infill panel, plus $50–150 if the part has to be reverse-engineered.
What Is Safe to Print, and What Is Not
The dividing line is simple and it is not about strength. It is about what happens when the part fails. A printed bracket that cracks drops a GPS. A printed brake lever that cracks drops you. Every printed plastic part on a motorcycle should be in the first category.
3D Print Bounty does not accept jobs for brake, clutch, steering, suspension or footpeg components, or for any part carrying a DOT or ECE approval mark. Makers on the platform can decline anything, and this is the category we ask them to decline reflexively. It costs us jobs. We would rather lose the job than be the reason someone finds out about layer adhesion at 70 mph.
| Category | Examples | Verdict |
|---|---|---|
| Cosmetic and trim | Side panels, fairing infills, dash bezels, badge surrounds, tank pads | Print freely. Usually the only way to get a discontinued panel at all. |
| Mounts and brackets | Phone and GPS mounts, aux light brackets, action camera mounts, USB socket housings | Print, but in PA-CF or ASA and with rubber isolation. Failure drops an accessory, not the rider. |
| Retainers and routing | Trim clips, cable guides, loom holders, chain guards, fuse box covers | Print. These are the highest-value jobs because OEM stock disappears first and the parts are tiny. |
| Regulated components | Light housings, reflectors, mirrors, plate hangers, helmet parts | Avoid. Approval marks certify the component as tested, and a printed copy is not the tested component. |
| Safety critical | Levers, footpegs, brake and clutch parts, steering, suspension, engine internals | Never. No material or wall thickness makes an FDM part appropriate here. |
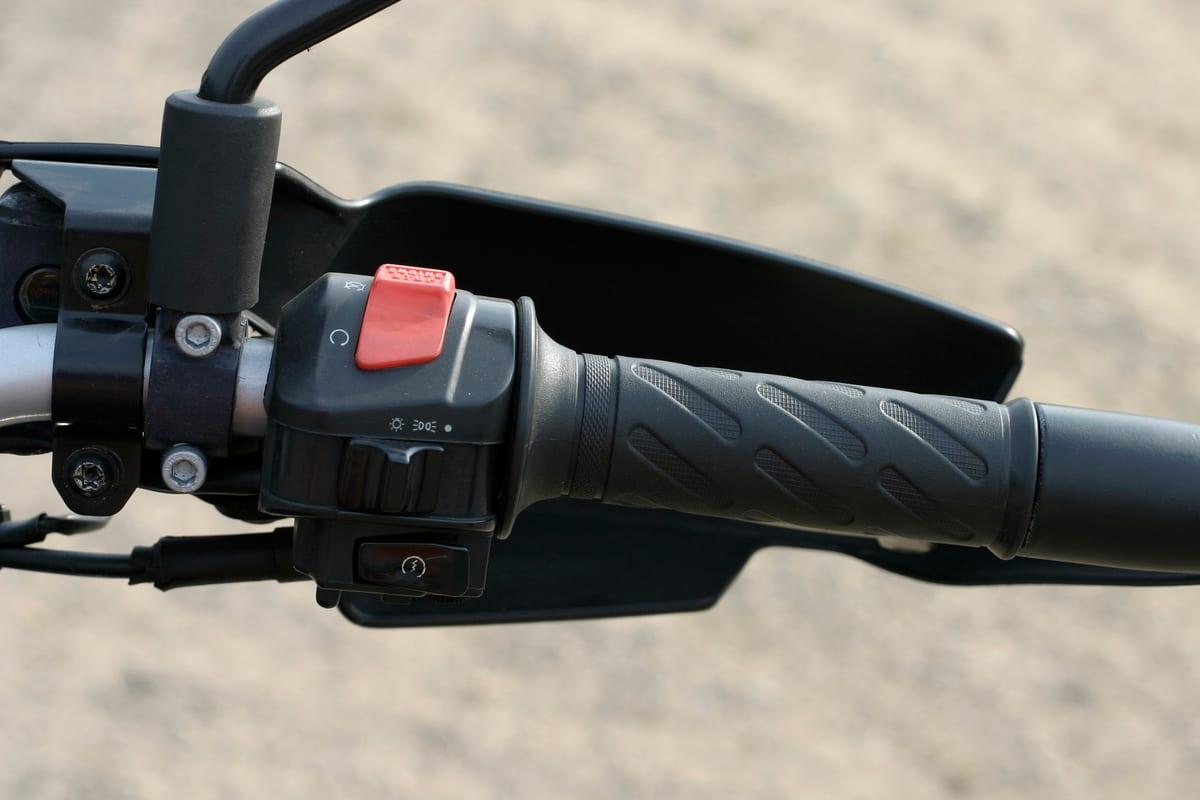
Heat Decides the Material Before Anything Else
Where the part lives on the bike settles the filament question, and the answer is almost never PLA. A motorcycle is a heat source wrapped in dark plastic and left outdoors, which is the worst possible environment for the cheapest and easiest filament to print.
The specific failure is not melting. A PLA bracket behind a fairing gradually creeps: the bolt holes elongate, the part sags a few millimetres, and one day the thing it was holding is resting against a hose. People blame vibration. It was temperature.
Indicative temperatures by mounting location on a motorcycle
Only the under-seat and tail area comes anywhere near staying below PLA's 55°C heat deflection temperature, and even that zone tops out around 60°C. Exterior trim in summer sun needs ASA at minimum; behind a fairing, at 60-95°C, wants polycarbonate at 113°C; and beside the engine cases, at 90-140°C, only PA6-CF's 186°C clears the top of the band — and not under sustained load.
| zone | Typical low (°C) | Typical high (°C) |
|---|---|---|
| Under seat / tail | 35°C | 60°C |
| Exterior trim, summer sun | 50°C | 80°C |
| Behind fairing, near rad | 60°C | 95°C |
| Beside engine cases | 90°C | 140°C |
| Near exhaust header | 200°C | 450°C |
Source: Indicative ranges compiled from manufacturer service-manual coolant and oil operating temperatures, published exhaust surface-temperature measurements, and solar-gain figures for dark plastics. Ranges, not spot readings. July 2026
| Filament | Holds shape to | Outdoors | Use it for |
|---|---|---|---|
| PLA | 55°C | Poor, yellows and embrittles | Test fits only. Not a finished part. |
| PETG | 68°C | Fair | Under-seat and interior parts kept out of direct sun. |
| ASA | 93°C | Excellent, UV-stable by design | Default for exterior panels, bezels and trim. This is what automotive exterior trim is moulded from. |
| PA-CF nylon | 186°C HDT, but see the note below | Good, absorbs moisture | Brackets that take vibration and load. Stiff and tough, must be printed dry. |
| Polycarbonate | 113°C | Fair, needs a UV coat | Hot zones behind the fairing where you also need impact resistance. |
Source: heat deflection temperature at 0.45 MPa from the Prusament PLA, PETG, ASA and PC Blend technical data sheets and the Bambu Lab PA6-CF technical data sheet, August 2026. Always check the load condition on a published HDT: the same material quoted at 1.8 MPa is a much lower number, and mixing the two is the most common error in filament comparisons.
The PA6-CF number needs a caveat, and it is the important one on this page. Its 186 °C heat deflection temperature is real, but its glass transition sits around 68 °C. HDT is measured under brief load; a bracket that holds its shape through a short heat soak can still creep slowly under a sustained load at a temperature far below its HDT. On a bike, where a bracket carries weight continuously and sits at 90 °C for an hour at a time, treat PA6-CF as excellent for stiffness and vibration and do not read 186 °C as permission to load it hard next to the exhaust.
Vibration Is What Actually Breaks Printed Parts
A printed bracket rarely fails because it was overloaded. It fails because a big single or a parallel twin put a few million small load cycles through it, and FDM parts are weakest across the layer boundaries. Cracks start at sharp internal corners and propagate along a layer line until the part lets go, usually somewhere in the second season.
Four design decisions do most of the work here:
- Orientation. The part should be printed so the main load runs along the layers, not across them. This is worth more than any infill setting.
- Fillets, not corners. Every internal corner is a crack initiation site. A 3mm fillet costs nothing and is the cheapest fatigue improvement available.
- Perimeters over infill. For the same mass of plastic, more perimeter walls and lighter infill outperforms thin walls packed with dense infill, because bending stress lives at the surface.
- Rubber isolation. Bolt through a grommet or a rubber washer rather than metal-to-plastic. Removing the high-frequency input matters more than the material choice.
Use heat-set brass threaded inserts rather than tapping threads into the plastic or trapping a nut in a hex pocket. An M4 brass insert costs about $0.10, takes fifteen seconds with a soldering iron, and turns the weakest point on the part into a normal metal thread you can torque properly.
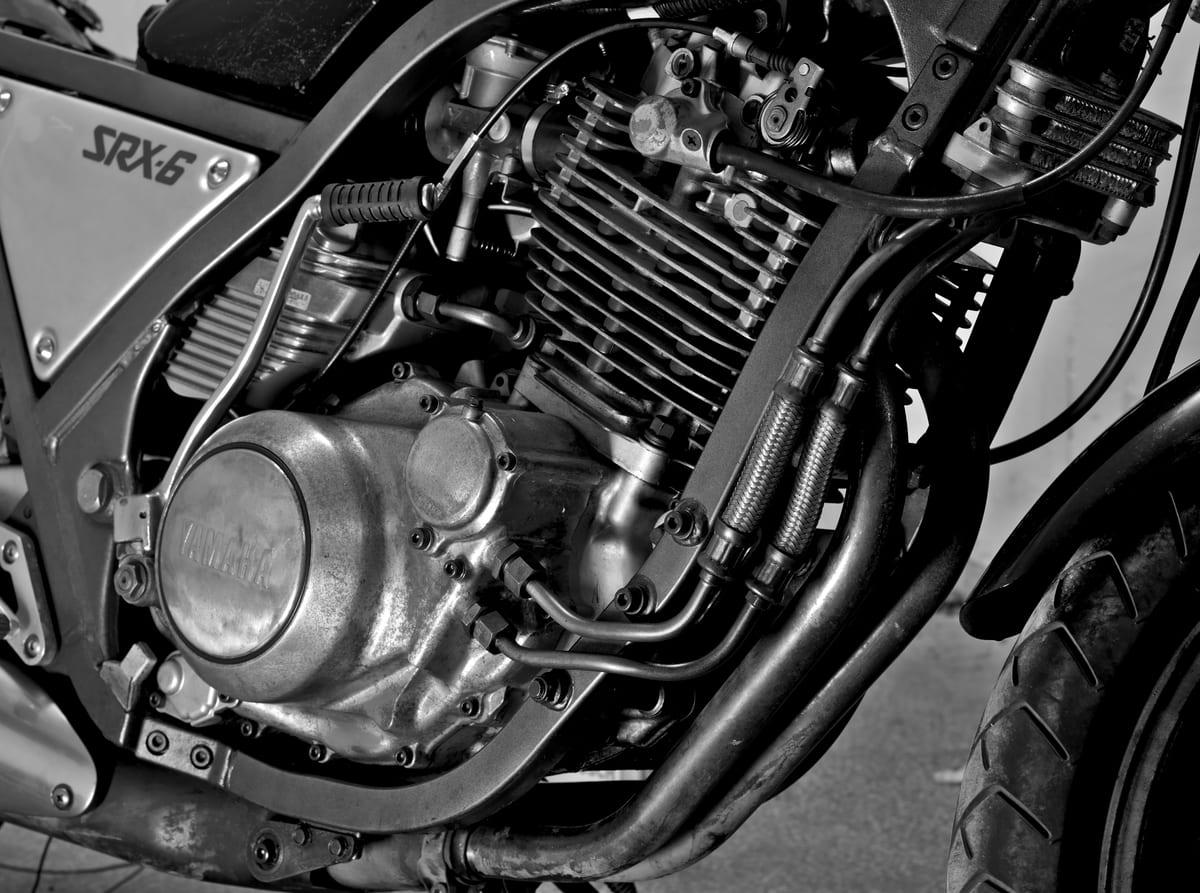
What a Commissioned Part Costs
Material is almost irrelevant to the quote. A trim clip is under $0.20 of ASA. What you are paying for is the modelling work, an enclosed printer that can run ASA without warping, and the fact that the first attempt frequently does not fit and gets reprinted.
Typical commissioned cost by motorcycle part type
A bracket runs $35–90 and a discontinued fairing infill panel runs $150–400. Reverse-engineering an unavailable part from measurements adds $50–150 on top of these figures.
| part | Typical low | Typical high |
|---|---|---|
| Clip / cable guide | $25 | $50 |
| Bracket or mount | $35 | $90 |
| Dash bezel | $60 | $150 |
| Airbox / intake trim | $80 | $180 |
| Side panel | $120 | $280 |
| Fairing infill panel | $150 | $400 |
| Luggage mount set | $200 | $450 |
Source: 3D Print Bounty maker quotes and comparable independent commissions, July 2026
Against an OEM part that is still in production, printing usually loses. A genuine clip ordered from a dealer generally costs less than having one commissioned, and it fits first time. Printing wins in exactly one situation, which happens to be extremely common on bikes over about twelve years old: the part is discontinued, and the alternative is a used one of unknown age or a whole panel from a breaker at many times the price. Our replacement parts service exists for that case, and the guide to getting a broken part reproduced walks through the measurement side.
Getting the Geometry Right
Failed motorcycle prints usually trace back to a mating surface, not a shape. The visible face of a side panel can be a few millimetres off and nobody notices. The three clip tabs on its back face have to be right within about 0.3mm or the panel will not stay on.
Send your maker the following and expect two rounds of test fitting regardless:
| What to send | Why it matters |
|---|---|
| The broken original, if you still have it | Even in three pieces it is worth more than any photo. Mating faces can be measured directly instead of inferred. |
| Caliper measurements of every mating feature | Bolt hole diameters, hole centre spacing, tab thickness, clip pitch. A tape measure is not sufficient at this scale. |
| Make, model and year, plus the OEM part number | Part numbers frequently turn up an existing model in a parts library, which cuts the design charge entirely. |
| Photos with a ruler in frame | Gives scale reference and shows how the part sits relative to its neighbours. |
| Where the part lives on the bike | Determines material. A maker who does not know it is going behind a radiator will quote PETG and you will get a part that creeps. |
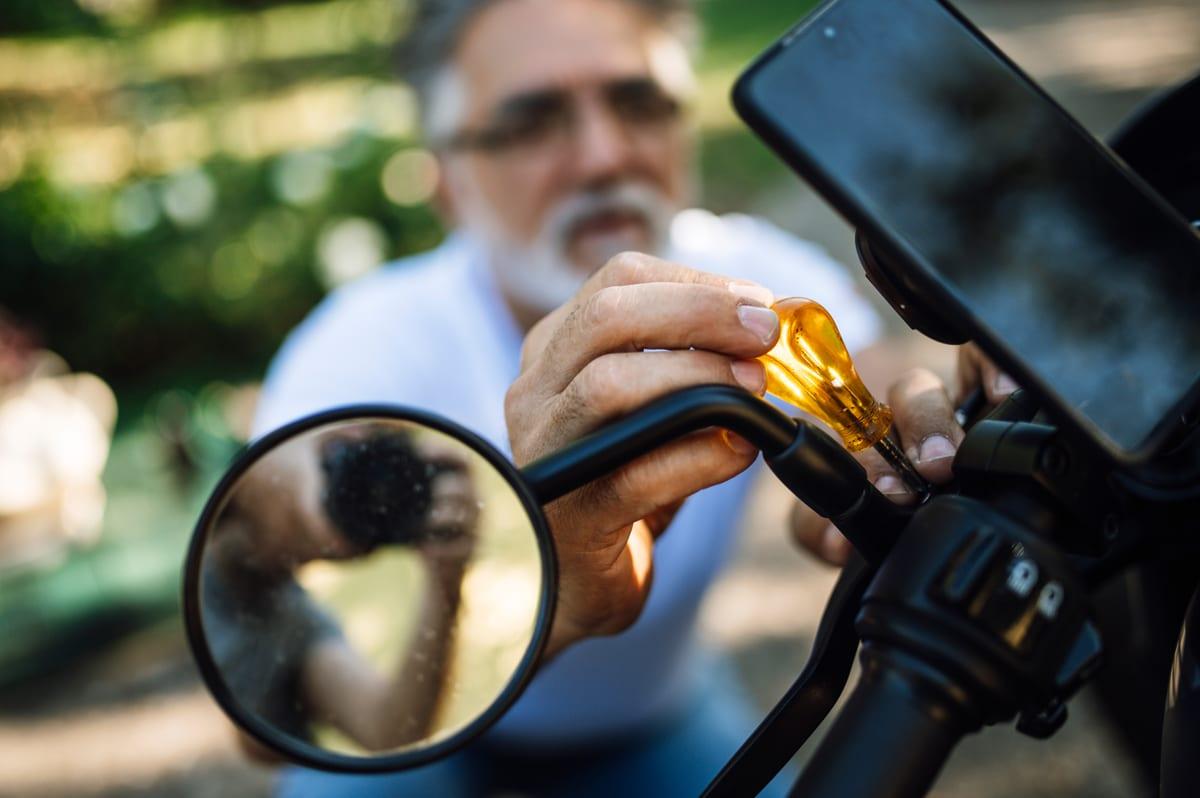
Roadworthiness and Inspection
Cosmetic trim, brackets and cable routing are effectively unregulated in most jurisdictions, and a printed replacement raises no issue at inspection. The picture changes as soon as a part interacts with a regulated system.
Light housings, reflectors, mirrors and licence plate mounts are type-approved components in the EU and UK, and DOT-regulated in the US. The approval attaches to the tested component, not to its shape, so a visually identical printed copy is not an approved part even if it fits perfectly. If you print a plate hanger or a light bracket, keep the original approved lamp and reflector and print only the mount.
The practical rule: print the thing that holds the regulated component, never the regulated component itself.
Frequently asked questions
What motorcycle parts can safely be 3D printed?
Non-structural parts that do not carry rider load or affect braking, steering or suspension. That means brackets, phone and GPS mounts, dash bezels, trim clips, cable guides, chain guards, fuse box covers, side panels and discontinued fairing infills. Anything holding the rider, the wheels or the brakes stays metal.
What filament should motorcycle parts be printed in?
ASA for exterior parts, because it is UV-stable and has a 93°C heat deflection temperature at 0.45 MPa. PA6-CF nylon or polycarbonate (113°C) for brackets that carry vibration and load. PETG (68°C) only for parts that stay out of sun and heat. Never PLA: its HDT is 55°C, which a dark panel in summer sun reaches on its own.
How much does a custom 3D printed motorcycle part cost?
A simple bracket or mount runs $35–90 commissioned. A dash bezel or instrument surround runs $60–150, a side panel $120–280, and a discontinued fairing infill panel $150–400. Add $50–150 if the part has to be reverse-engineered from measurements rather than printed from an existing file.
Will a 3D printed part survive engine vibration?
It survives if it is designed for it. Printed parts crack along layer lines under cyclic loading, so the part must be oriented so vibration loads run along the layers rather than across them, use generous fillets instead of sharp internal corners, and mount through rubber grommets rather than bolting rigidly to the frame.
Is a 3D printed motorcycle part road legal?
That depends on the part and your jurisdiction. Cosmetic trim and mounts are generally unregulated. Anything that changes lighting, mirrors, licence plate position or noise output may fail inspection or an MOT-equivalent test. Never print a replacement for a component carrying a DOT or ECE approval mark.
Get Your Motorcycle Part Made
Post the make, model and year, photos with a ruler in frame, and where on the bike the part sits. Makers who print ASA and nylon will bid, and your payment stays in escrow until you approve photos of the finished part.