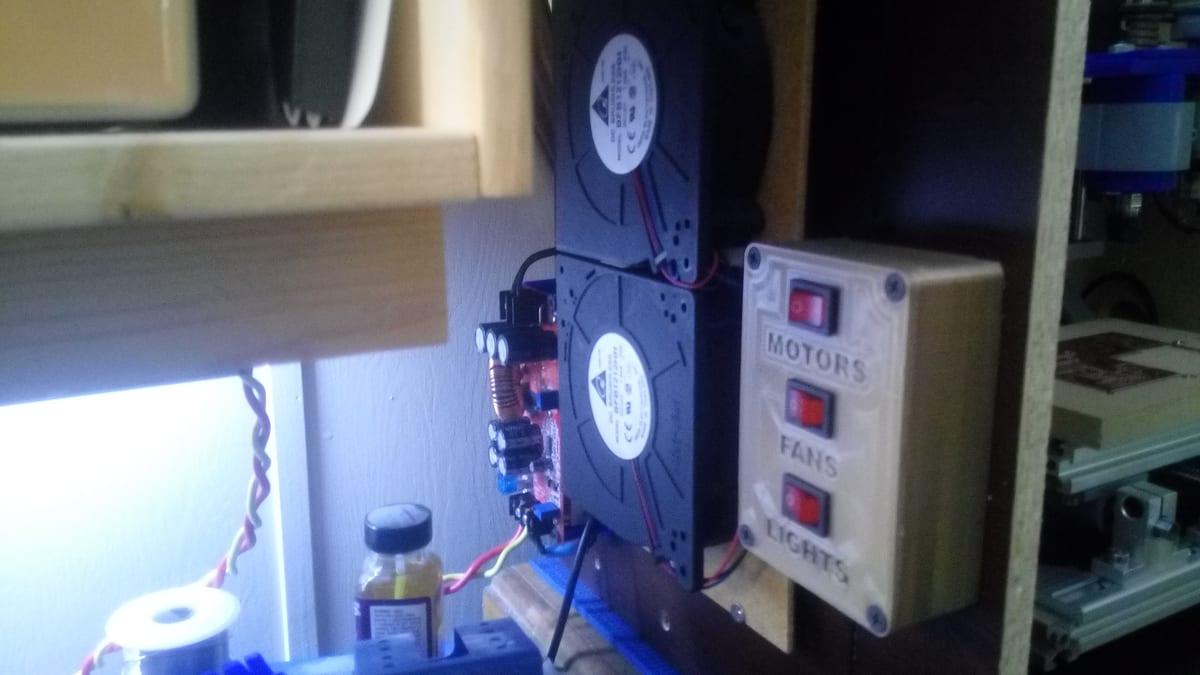
Custom 3D Printed Enclosures and Project Boxes
I spent a weekend trying to make a $6 off-the-shelf ABS project box work for a board that was 4mm too wide. Drilled it, filed it, cracked one corner, ended up with a device that looked like a device somebody had drilled and filed. The custom printed box that replaced it cost $45 and took an afternoon of somebody else's time.
That trade is the whole subject. A printed enclosure is more expensive per unit than a stock box and less expensive than being wrong. This post covers what one actually costs, the specific dimensions that make or break a design, where printing loses to moulding, and the two safety limits that matter.
How much does a custom 3D printed enclosure cost, and when is it worth it?
A commissioned custom 3D printed enclosure costs $25–50 for a small box, $40–90 for a medium one and $80–180 for a large one as of July 2026, plus $40–120 for modelling if no design exists. Printing beats injection moulding below roughly 300 units, above which tooling amortises and moulding wins decisively.
Last verified: July 2026
Key takeaways
- •A commissioned custom printed enclosure costs $25–180 depending on size, as of July 2026, plus $40–120 for modelling if no design exists.
- •Printing beats injection moulding below roughly 300 units: a $6,000 tool at $1.50 a part breaks even against a $20 batch print at about 325 units. Above that, tooling amortises and moulded parts drop to $1–3 each.
- •Wall thickness of 2.0–2.4mm is right for most enclosures: five or six perimeters at a 0.4mm nozzle, so the wall is all solid extrusion.
- •Use M3 brass heat-set inserts for any lid that will be opened repeatedly. Printed threads strip after a handful of cycles.
- •Standard PLA, PETG and ABS are generally sold with no UL 94 flammability rating at all, so they are the wrong material for permanently installed mains equipment.
When a Printed Box Beats a Stock One
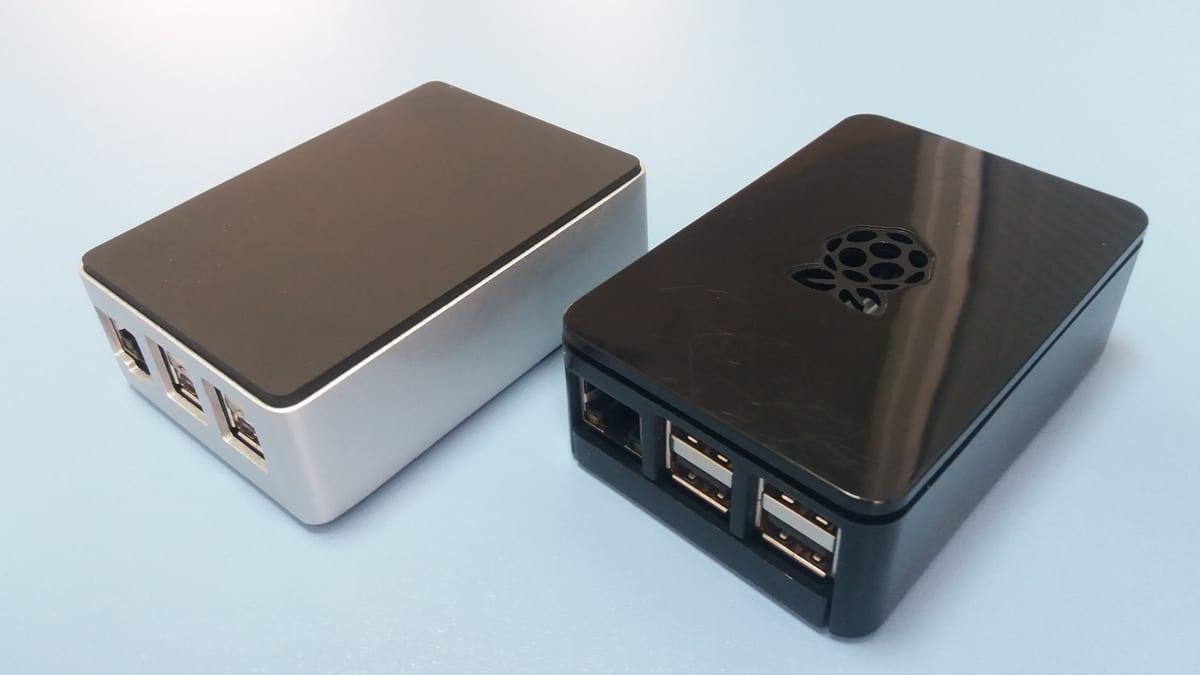
A Hammond or Takachi ABS project box costs $4–25 and is genuinely excellent value. The case for printing is not price, it is fit. Print instead of buying when:
- The board is an awkward shape or has connectors on three sides, so no rectangular stock box gives you sensible cutouts.
- You need integrated features: standoffs at your exact mounting hole pattern, a light pipe, a battery compartment, a screen bezel, a DIN rail clip.
- The labels should be part of the box rather than a sticker that peels off. Embossed or debossed text costs nothing extra to print.
- You are still iterating. A revised box the next day is worth more than a cheaper box in three weeks.
- It has to match something. Mounting into an existing panel, machine or vehicle where the interface is fixed and not yours to choose.
Buy the stock box instead when you need an IP rating you can point to, a certified flammability rating, EMI shielding, or more than a few hundred identical units.
What a Custom Enclosure Costs
Size drives print time and print time drives price, but the bigger swing is whether a model exists. Adapting a published case for a common board is an hour of work. Modelling a box around a board you designed yourself, with your connector positions, is $40–120 on top of the print.
Commissioned printed enclosure cost by size
A medium enclosure of about 150 × 100 × 50mm costs $40–90 commissioned. Sealed designs with gasket channels, heat-set inserts and multiple parts run $120–300 because the part count and assembly time rise sharply.
| size | Typical low | Typical high |
|---|---|---|
| Small (80×50×30mm) | $25 | $50 |
| Medium (150×100×50mm) | $40 | $90 |
| Large (250×180×80mm) | $80 | $180 |
| Sealed / multi-part | $120 | $300 |
Source: 3D Print Bounty maker quotes and comparable independent commissions, July 2026. Ranges assume PETG and exclude bespoke modelling, which adds $40–120 where no existing design can be adapted.
You can run your own dimensions through our 3D printing cost calculator to see the material floor before you post a job, and the full cost guide explains what makes up the rest of a quote.
The Crossover Point With Injection Moulding
Printing has essentially flat per-unit economics. A hundredth enclosure costs almost what the first one did, minus a modest batching discount. Injection moulding is the opposite: a simple two-part aluminium tool for a small enclosure runs roughly $3,000–8,000, after which each part costs a dollar or three.
Work the crossover on stated numbers rather than a feeling. Take a $6,000 aluminium tool at $1.50 per moulded part, against roughly $20 a unit to print the same box in a batch: moulding breaks even at 6,000 ÷ (20 − 1.50), which is about 325 units. Note that the $18–24 printed figure is a batch unit price — what a maker charges per box when they run fifty or five hundred off one file — not the $40–90 a single custom one-off costs.
That gives a crossover somewhere around 300 units for a typical medium enclosure. Below it, printing is cheaper, faster to change, and does not commit you to a design. Above it, moulding is not just cheaper but better: consistent walls, proper flammability ratings, real snap fits and a surface finish printing cannot match.
The practical reading is that printing is the right answer for prototypes, one-offs, replacement housings and production runs in the tens. If you know you are going to 10,000 units, print the first thirty to prove the design and then go to a moulder.
Per-unit enclosure cost: printing vs injection moulding
Printed enclosures cost roughly $18–24 each in batch quantities and stay flat however large the batch, while injection moulded parts fall from about $122 each at 50 units to about $8 each at 1,000. The crossover sits near 300 units.
| qty | Printed, per unit | Injection moulded, per unit |
|---|---|---|
| 50 units | $24 | $122 |
| 100 units | $22 | $62 |
| 250 units | $20 | $26 |
| 500 units | $19 | $14 |
| 1000 units | $18 | $8 |
Source: Printed figures are batch unit prices from 3D Print Bounty maker quotes for a medium PETG enclosure, July 2026, not single-unit custom pricing. Moulded figures model a $6,000 aluminium tool amortised across the run plus $1.50 per part, which is mid-range for a simple two-part enclosure tool.
The Dimensions That Decide Whether It Works
Enclosure design is unusually rule-driven. Get these eight numbers right and the box works; get them wrong and it flexes, rattles, strips or will not close.
| Feature | Target | Why |
|---|---|---|
| Wall thickness | 2.0–2.4mm | Five or six perimeters at a 0.4mm nozzle, so the wall is solid extrusion with no infill voids to seep or crack. |
| Lid-to-base clearance | 0.2–0.3mm per side | Zero clearance means a lid that will not seat. More than 0.4mm and it rattles. |
| M3 heat-set insert boss | 4.0–4.2mm hole, 6mm+ boss outside diameter | Brass inserts are the single biggest durability upgrade. Printed threads survive maybe five open-close cycles. |
| PCB standoff height | 3mm minimum | Through-hole component legs stick out further than people remember. 3mm clears almost everything. |
| Connector cutouts | +0.3 to 0.5mm on each dimension | Absorbs print tolerance and board placement variation. A USB port that needs filing is the classic first-revision failure. |
| Ventilation slots | 2mm wide maximum | Narrow enough to keep fingers and probes out, wide enough to print cleanly without bridging problems. |
| Snap-fit cantilever length | At least 5× its thickness | Short stubby snaps do not flex, they break. Length is what gives a printed snap fit its travel. |
| Internal corner fillets | 1–2mm radius | Sharp internal corners are stress risers and they are where a dropped enclosure cracks. |
Choosing the Material
PLA is fine for a desk. It is rigid, prints accurately, takes crisp embossed text, and costs the least. It also gives up heat first: the Prusament PLA data sheet lists a heat deflection temperature of 55°C at 0.45 MPa, so a PLA enclosure left in a car, a loft or a sunny window will deform.
PETG is the sensible default for anything that leaves the desk. Tougher than PLA, 68°C heat deflection at 0.45 MPa on the Prusament PETG data sheet, and it survives being dropped. It is slightly less crisp on fine text and slightly more prone to stringing, neither of which matters on a box.
ASA is the answer outdoors. It resists UV where PLA yellows and embrittles within a season, and the Prusament ASA data sheet lists 93°C heat deflection at 0.45 MPa. If the enclosure lives on a wall, a pole or a vehicle, specify ASA and accept the small upcharge.
One caveat on all three numbers: heat deflection is measured under load for a short period. A part can hold its shape briefly at its HDT and still creep over weeks under a steady load at a far lower temperature, which is the failure mode for a wall-mounted box carrying its own cable weight in a hot loft.
ABS is worth it when you want to solvent-weld a seam, tap a thread, or acetone-smooth the surface. It needs an enclosed printer, so not every maker offers it.
Two Limits Worth Being Blunt About
Mains voltage and flammability
Standard PLA, PETG and ABS filaments are not flame-retardant, and are generally sold with no UL 94 rating at all, so you cannot claim one for the finished enclosure. That is acceptable for a battery or low-voltage DC project and not acceptable for permanently installed mains equipment. Flame-retardant V-0 rated filaments exist and are the right choice if you go this route; otherwise use a certified enclosure and print only the cosmetic parts.
Waterproofing is the second one. An FDM wall has micro-voids between extrusion paths and will seep under sustained pressure even when it looks solid. A proper gasket channel with O-ring cord, sealed cable glands and a lid clamped by four inserts gets you convincing splash and dust resistance, which covers most outdoor sensor projects. It does not get you a certified IP rating, and it will not survive submersion. Design around that rather than hoping.
Neither limit makes printed enclosures a bad idea. They just define the band: low voltage, indoor or splash-exposed, tens rather than thousands of units. Inside that band nothing else comes close for speed and fit.
What to Send With Your Request
- Board outline dimensions and mounting hole positions, ideally as a drawing or the board's mechanical layer export.
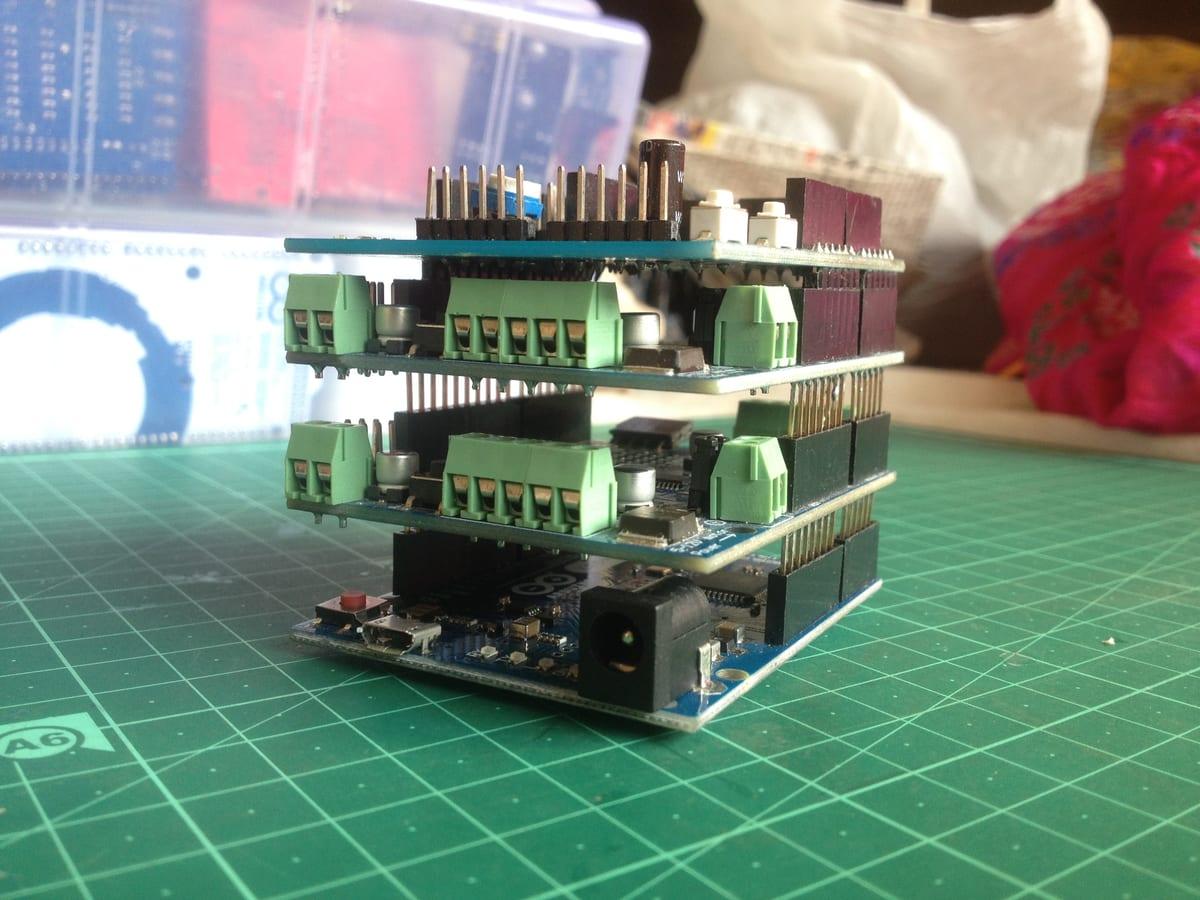
- Total assembled stack height including headers, shields, and the tallest component.
- Every connector, button, LED and display with its position and how far it protrudes.
- Mounting method: freestanding, wall plate, DIN rail, panel cutout, magnetic. This changes the design more than size does.
- Environment: indoors, outdoors, vehicle, workshop. This picks the material.
- How often the lid gets opened. Occasionally means screws into printed bosses; regularly means heat-set inserts.
- Quantity now and quantity later. A maker will design differently for one unit than for fifty.
Frequently asked questions
How much does a custom 3D printed enclosure cost?
A small printed enclosure up to roughly 80 × 50 × 30mm costs $25–50 commissioned, a medium 150 × 100 × 50mm box costs $40–90, and a large 250 × 180 × 80mm box costs $80–180 as of July 2026. Add $40–120 if the design has to be modelled from scratch around your board rather than adapted from an existing case.
When is a 3D printed enclosure cheaper than injection moulding?
Below roughly 300 units. In batch quantities printing runs about $18–24 per medium enclosure and stays flat however many you order, while injection moulding adds tooling of roughly $3,000–8,000 spread across the run plus $1–3 per part. On a $6,000 tool at $1.50 per part, moulding costs about $62 each at 100 units and about $8 at 1,000. Print for prototypes and small batches, mould above about 300.
How thick should the walls of a 3D printed enclosure be?
Between 2.0 and 2.4mm for most handheld and desktop enclosures. That is five or six perimeters at a 0.4mm nozzle, which gives a wall made entirely of solid extrusions with no infill voids. Below about 1.6mm the box flexes noticeably and screw bosses pull through; above 3mm you are mostly paying for filament.
Are 3D printed enclosures waterproof?
Not straight off the printer. FDM walls have micro-voids between extrusions and will seep under pressure. A designed gasket channel with O-ring cord, a well-fitted lid and sealed cable glands gets you to reliable splash and dust resistance, which is enough for most outdoor projects. Do not expect submersion-grade sealing from a printed box.
Can I put mains voltage electronics in a 3D printed enclosure?
Standard PLA, PETG and ABS filaments are not flame-retardant and are generally sold without any UL 94 rating at all, which means you cannot claim one, so they are the wrong material for permanently installed mains equipment. Flame-retardant V-0 rated filaments do exist and are the correct choice if you go this route. For anything permanent and mains-powered, use a certified enclosure.
Get Your Enclosure Quoted
Post your board dimensions, connector positions and where the box will live. Makers who have designed enclosures before will bid, and your payment stays in escrow until you have approved photos of the finished box with your hardware in it.