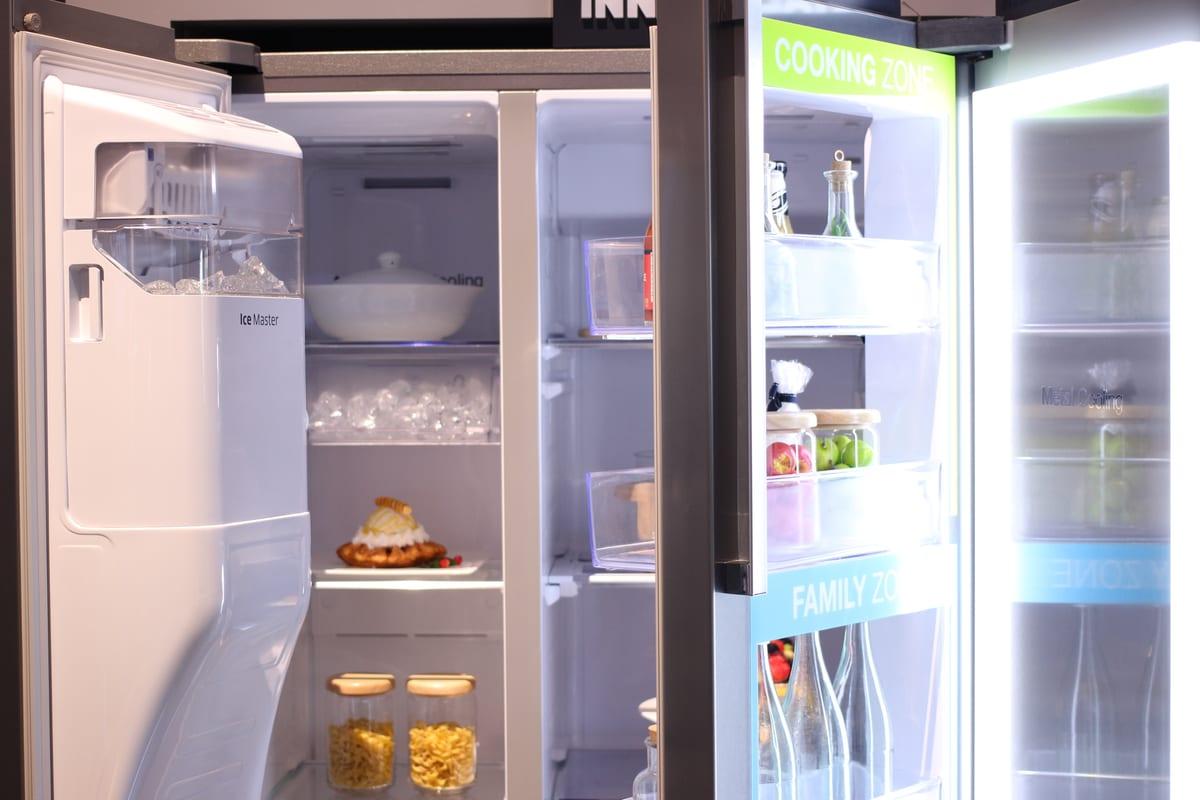
Refrigerator Door Bin Replacement for Discontinued Fridges
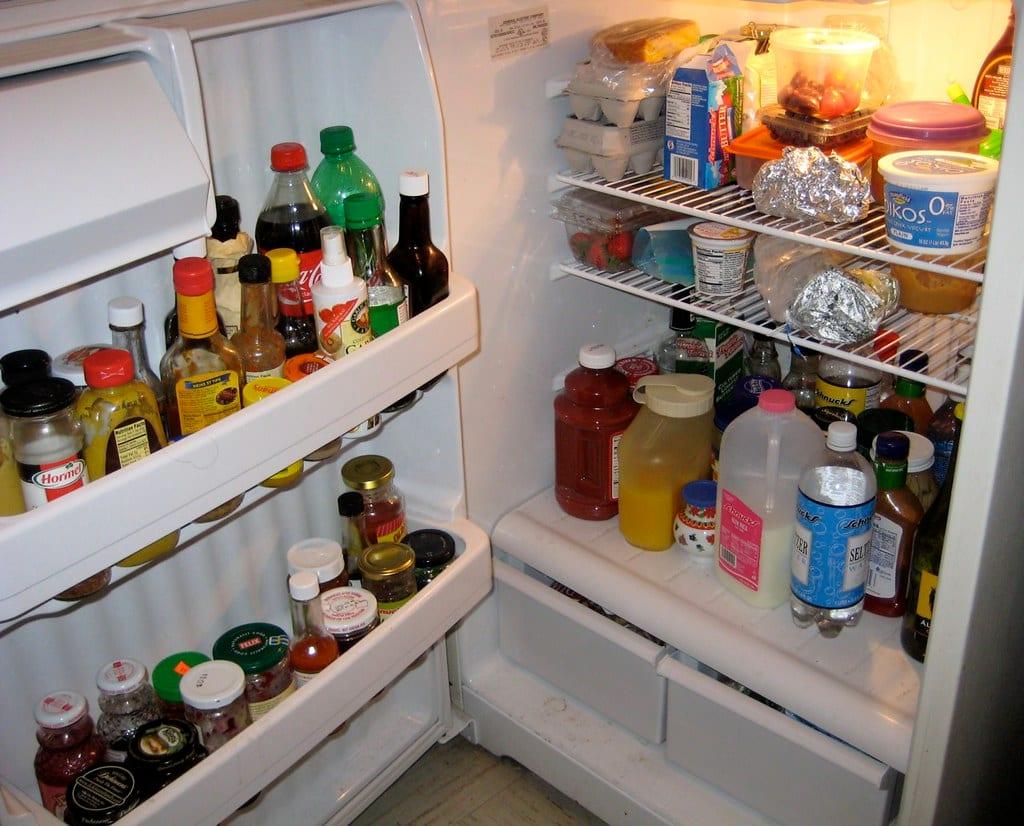
The bin itself is fine. What broke is the 40mm end cap that hooks it onto the door rail, probably while someone was lifting it out to wipe up spilled juice. Now the bin sits at an angle, a gallon of milk keeps sliding to one end, and the part number on the appliance parts site returns "no longer available."
This is a common and very fixable situation, but the obvious plan is the wrong one. Almost nobody should be printing a whole refrigerator door bin. Here is why, and what to print instead.
Can you get a replacement refrigerator door bin 3D printed?
Usually you should print the broken mounting part rather than the whole bin. Full-width door bins are 350–500mm long and consumer printer beds stop around 250–300mm, so a complete bin needs bonded sections. A printed end cap or rail hook costs $20–50 and restores the original bin, against $30–90 for an OEM bin if one is still stocked.
Last verified: July 2026
Key takeaways
- •Full-width refrigerator door bins measure 350–500mm long; the largest common consumer printer bed is 300mm.
- •A loaded door bin carries 5–8kg, and a single gallon of milk alone weighs about 3.9kg.
- •A printed end cap or rail hook costs $20–50; a whole bin printed in bonded sections costs $90–220.
- •Refrigerator interiors run at 1–4°C, where PLA loses impact strength; PETG and ASA stay tough.
- •Most bin failures are the retaining feature, not the tub, so the part you actually need weighs 20–60g.
Why a Whole Bin Is the Wrong Print
Measure your bin before you do anything else. Full-width bins on top-freezer and French door refrigerators commonly run 400–500mm long. Narrower side-by-side and half-width bins sit around 300–380mm. Now compare that to what a hobbyist printer can actually produce in one piece.
Consumer printer bed width against typical door bin length
A typical full-width refrigerator door bin at around 430mm is longer than every common consumer printer bed, including the 300mm large-format machines. A one-piece printed bin is not an option on hobbyist hardware.
| machine | Maximum part length (mm) |
|---|---|
| Bambu A1 Mini | 180mm |
| Ender 3 class | 220mm |
| Prusa MK4S | 250mm |
| Bambu P1S / X1C | 256mm |
| Creality K1 Max | 300mm |
| Typical door bin | 430mm |
Source: Published manufacturer build volume specifications and measured door bin lengths across top-freezer, side-by-side and French door models, July 2026
Splitting the bin into two or three sections and bonding them is technically possible. The problem is what the part does for a living. A loaded door bin carries 5–8kg, and a single gallon of milk is about 3.9kg on its own. A bonded joint across the floor of a tub, held horizontally at both ends and pulled on every time the door swings, is exactly the loading case that finds glue joints.
It is also slow. A 430mm bin printed in three sections at 0.3mm layers is typically 30–45 hours of machine time and 400–700g of filament, before any joint work. Run those numbers through the print cost calculator and you will see why the printed-bin quotes in the next chart look expensive relative to the OEM part: the material is roughly $9–22 in PETG at $22–32/kg, and everything else is machine time.
Print the Part That Actually Broke
Open the door and look at the failure honestly. In the overwhelming majority of cases the tub is intact and one of four small features has given up:
- The end cap, a moulded piece at each end of the bin that engages the door rail. Typically 30–60g when printed.
- The rail hook or lug moulded into the bin body, which snaps off cleanly and can be printed as a bonded-on replacement with a mechanical key.
- The door rail itself, moulded into the door liner. Harder, because it may need to be printed as a bolt-on or adhesive-mounted bracket.
- The retaining clip or stop that stops the bin lifting out. The smallest and cheapest possible repair, often under 10g.
All four are within easy reach of any printer, all four cost $20–50 to have modelled and printed, and all four keep the original bin in service. This is the same logic that runs through every job on our replacement parts service: find the smallest part that restores function, and print that.
Cost of each route to a working door bin
Printing the broken end cap or tab costs $20–50 and sits below the price of an in-stock OEM bin. Printing a whole bin in bonded sections costs $90–220, which is only justified when no OEM or generic bin exists at all.
| option | Typical low | Typical high |
|---|---|---|
| Generic aftermarket bin | $20 | $45 |
| Printed end cap / tab | $20 | $50 |
| OEM bin, if stocked | $30 | $90 |
| Printed bin in sections | $90 | $220 |
Source: 3D Print Bounty maker quotes, appliance parts retailer listings and generic bin pricing, July 2026
Material: Cold Makes PLA Brittle
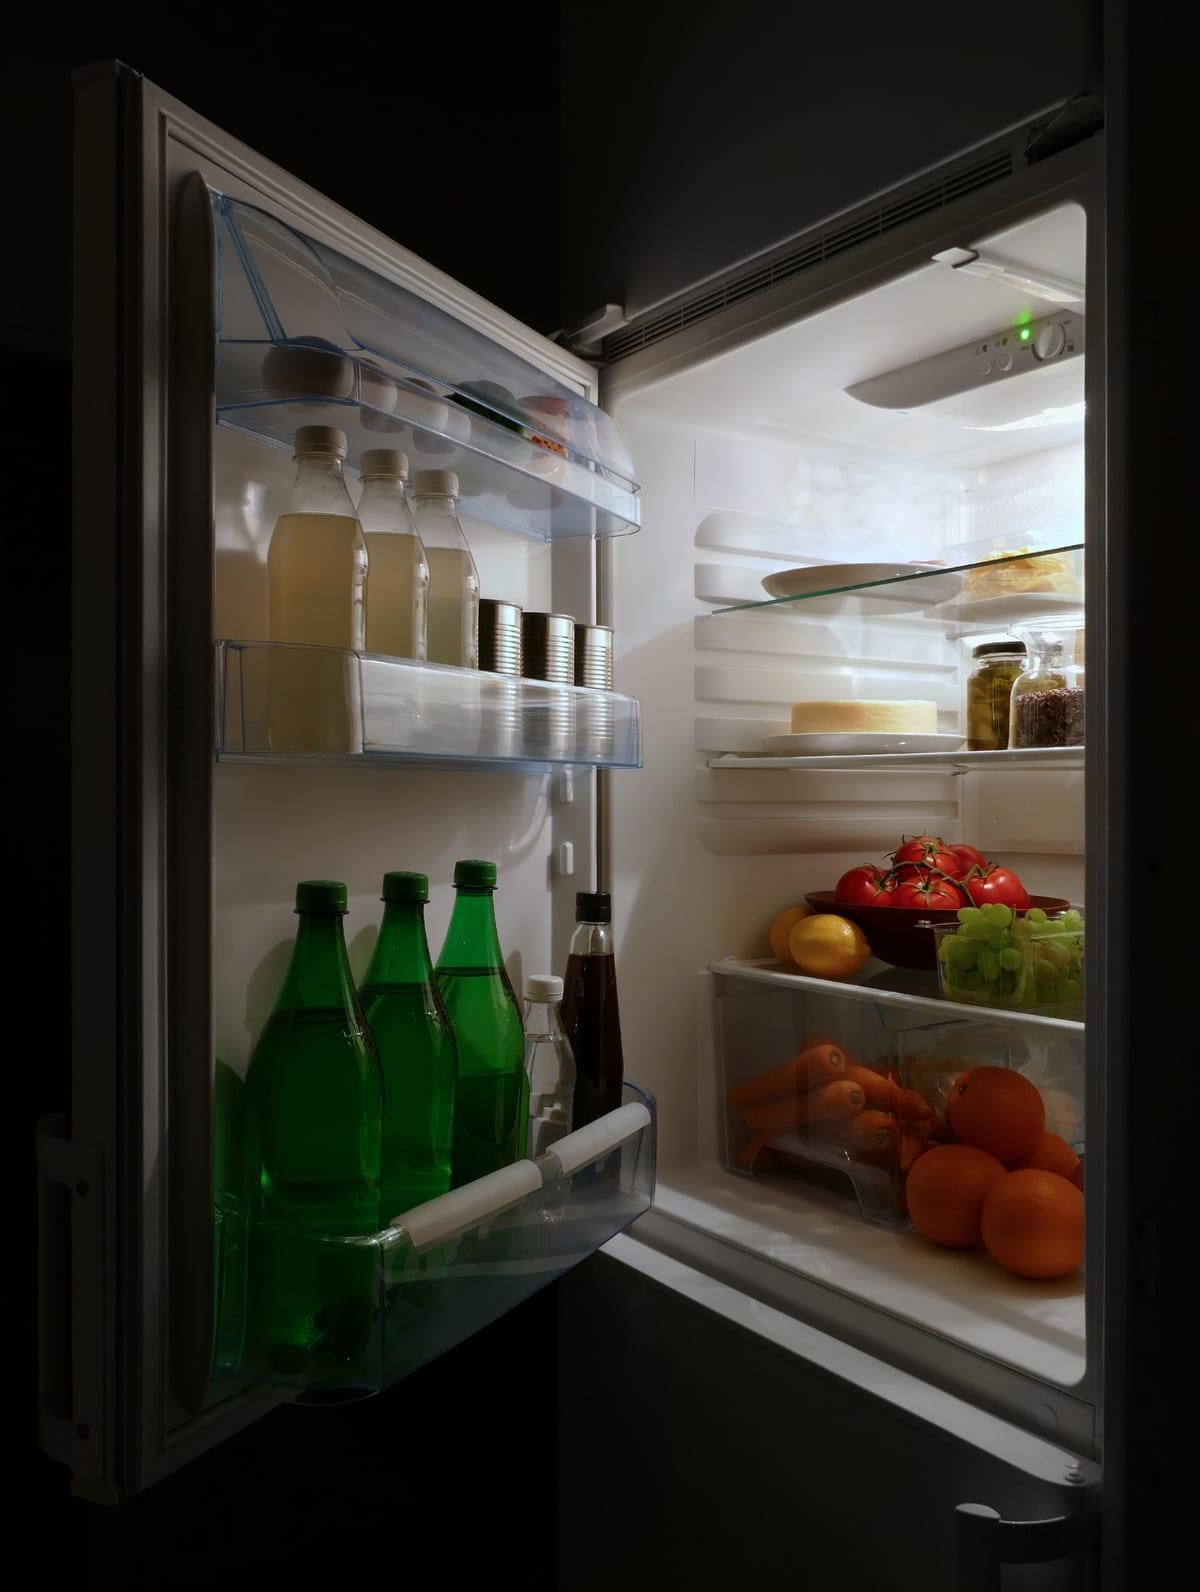
A refrigerator interior runs at 1–4°C, which is the temperature range food safety guidance targets. Heat is not the problem here; impact is. PLA is already the most notch-sensitive common filament at room temperature, and chilling it makes it worse. A PLA end cap survives installation, then cracks the first time a two-litre bottle is dropped into the bin next to it.
PETG is the default answer. It keeps meaningful toughness at fridge temperatures, tolerates household cleaners, bonds well with cyanoacrylate for bonded-on repairs, and prints on any machine.
ASA or ABS are worth the enclosure requirement for a part that carries the full bin load, such as an end cap on a full-width bin. Both are tougher than PETG under repeated impact.
Ask for solid or near-solid infill on any load-bearing feature. A 15% infill end cap is not a cheaper end cap, it is a part that fails in four months. On a 40g part the difference between 15% and 60% infill is roughly 20g of filament, which is about $0.60.
What to Send for a Quote
| What to send | Why it matters |
|---|---|
| Brand, model and serial number | Plenty of "discontinued" bins turn out to be a superseded part number that is still stocked. A maker worth hiring checks before quoting. |
| Bin length, depth and height | Decides immediately whether this is an end-cap job or a sectioned print, which is a 4x difference in price. |
| Rail profile photographed from the end | The rail cross-section is the mating geometry. An end-on photo with a ruler beside it is worth more than five general shots. |
| The intact end cap from the other side | Bins have a mirrored pair. The surviving one is a complete reference model, and it usually makes a broken one irrelevant. |
| All broken fragments, photographed together | Thin snapped features deform after they break. Fragments laid flat next to a ruler recover the original geometry. |
| What the bin normally carries | Milk gallons and bottles justify ASA and solid infill. Condiments do not. This is the difference between a $20 quote and a $50 one. |
When It Is Not Worth Printing
If the OEM part is still available. At $30–90 for an injection-moulded bin that fits perfectly, nothing printed competes. Search the part number properly first, including superseded numbers, and check the manufacturer's own accessory store as well as third-party parts sites.
If a generic bin fits. Universal door bins at $20–45 fit a surprising number of older top-freezer models where the rail spacing was standardised. They look wrong and they work. Measure your rail spacing before dismissing them.
If the tub itself has shattered. A cracked clear bin can be printed, but it will be opaque, it will be a sectioned print, and it will cost $90–220. At that point, a generic bin or a plastic storage tub sitting on the shelf below is a more honest fix.
If the door liner rail is broken off. This one is a real repair decision rather than a printing decision. The rail is moulded into the door liner, so the printed part has to be mechanically fastened or bonded to the liner, and liner plastics do not always take adhesive well. Get a maker to look at photographs before committing.
Frequently asked questions
Can you 3D print a refrigerator door bin?
You can, but a whole bin is usually the wrong job. Full-width door bins measure 350–500mm across and consumer printer beds top out around 250–300mm, so a complete bin has to be printed in bonded sections. Printing the broken end cap or mounting tab instead costs $20–50 and restores the original bin.
How much does a replacement refrigerator door bin cost?
An in-stock OEM bin costs $30–90. A generic aftermarket bin costs $20–45 but rarely fits a specific model. A custom printed end cap or mounting tab costs $20–50, and a full bin printed and bonded in sections costs $90–220 because of the print time and the joint work.
What material should a refrigerator door bin part be printed in?
PETG or ASA. A refrigerator interior sits at 1–4°C, and PLA loses impact strength badly at those temperatures, which matters for a part that gets knocked by bottles. PETG stays tough in the cold, resists cleaning products, and prints on any machine without an enclosure.
My fridge is discontinued and the bin is not available. What now?
Measure the bin rails and the bin itself, photograph both door and bin with a ruler in frame, and get the mounting geometry modelled. Most failures are a snapped end cap or a torn rail hook rather than a broken tub, so in most cases you are commissioning a 40g part rather than a whole bin.
Is a 3D printed part safe to store food in?
Treat a printed bin as a container holder, not a food-contact surface. FDM parts have microscopic layer valleys that are difficult to clean thoroughly, so keep loose food in its own packaging or a lidded box. Structural parts like end caps and rail hooks never touch food and avoid the question entirely.
Get Your Bin Part Made
Post your model number, the bin measurements and photos of the broken feature next to a ruler. Makers who do appliance parts will bid, and your payment stays in escrow until you have approved photos of the finished part.