How to Sand, Smooth and Paint 3D Printed Props
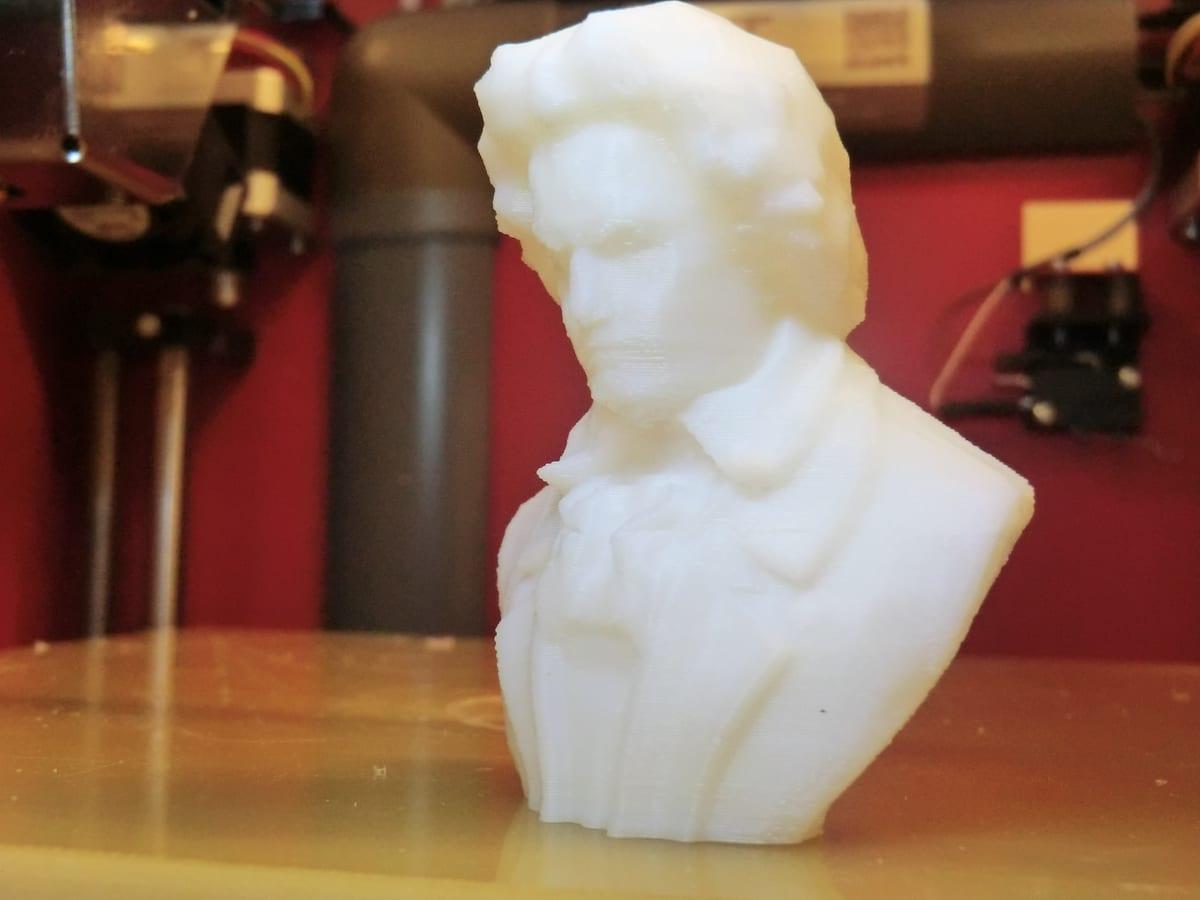
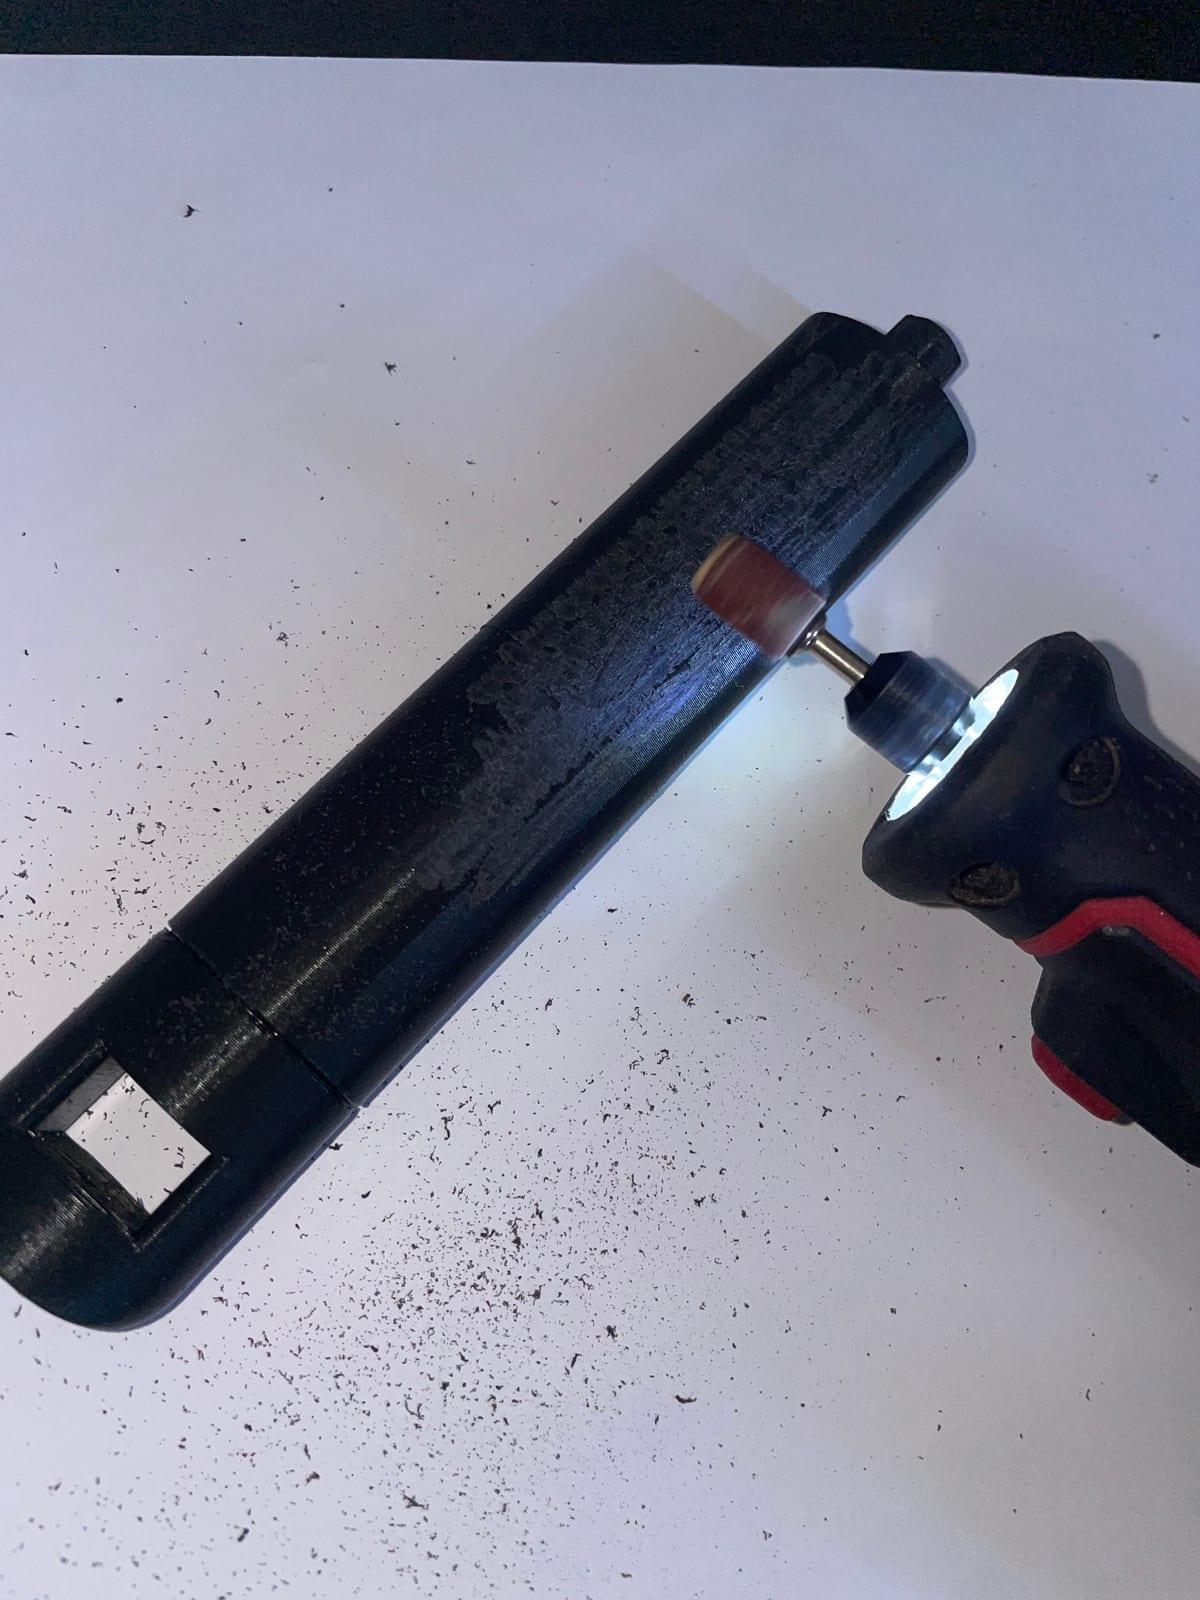
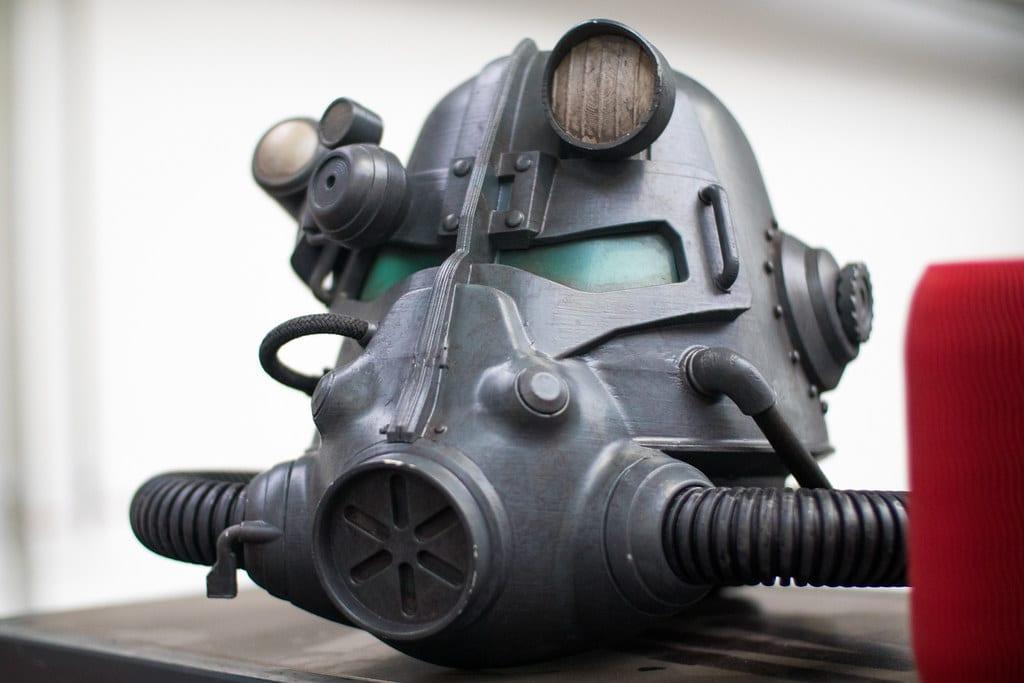
The first time most people sand a 3D printed prop, they sand for two hours, step back, and find the layer lines are still there. They are just shinier. That is not a technique failure, it is a misunderstanding of what is happening: sanding rounds the ridges off a layered surface, it does not remove the valleys between them.
The finish everyone actually wants comes from filling and levelling, in that order, repeated. Here is the sequence that works, the grit schedule, how long each stage really takes, and the point where handing the job to someone else stops being lazy and starts being sensible.
How do you sand and smooth a 3D printed prop?
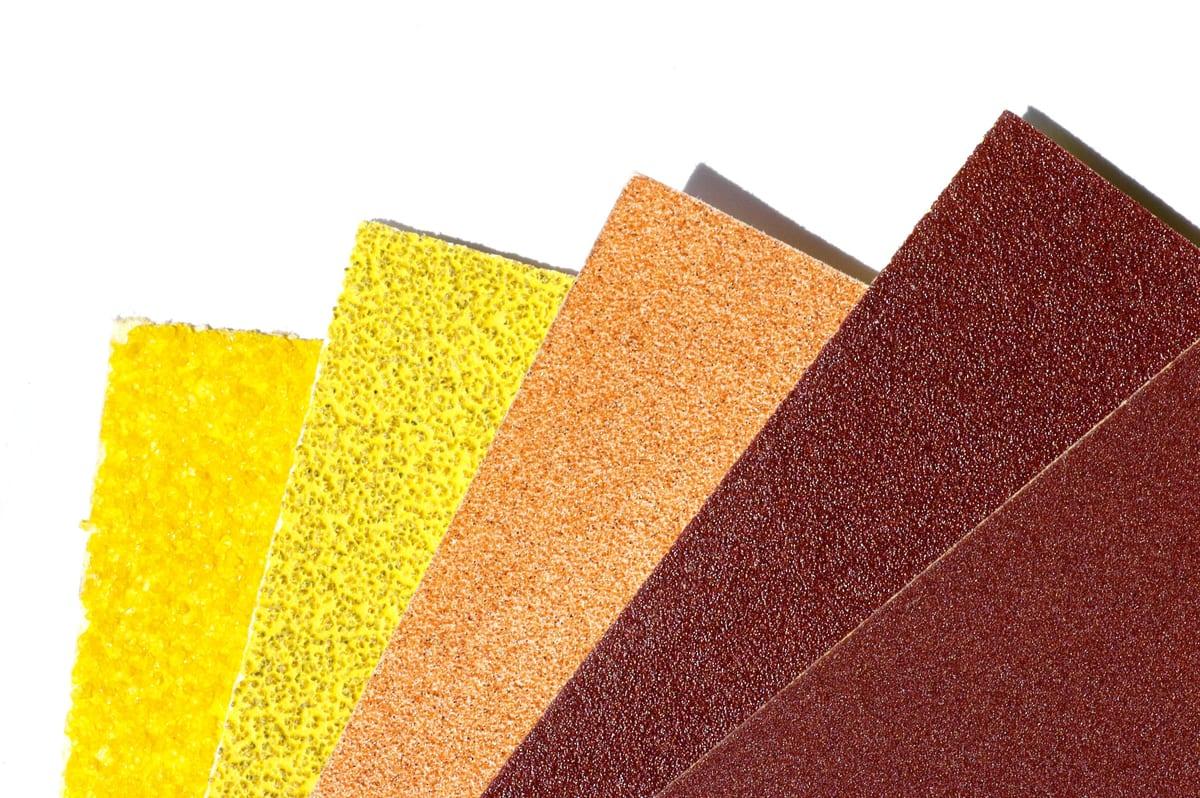
Knock down seams at 120–180 grit, spray two to three coats of high-build filler primer, then wet sand at 400 grit so primer stays in the layer valleys. Repeat, then finish at 800–1000 before colour. Expect 10–20 hours of hands-on work for a show finish on a helmet-sized part.
Last verified: July 2026
Key takeaways
- •Layer lines are filled, not sanded off. High-build filler primer does the work; the sandpaper only levels it back.
- •A show finish on a helmet-sized prop takes 10-20 hours of hands-on work across three or four sessions, because primer must cure between coats.
- •Wet sanding from 400 grit onward stops PLA gumming from friction heat and suppresses the fine plastic dust you would otherwise inhale.
- •Acetone vapour smoothing works only on ABS and ASA. PLA and PETG have no practical solvent and must be filled.
- •Printing at 0.12mm instead of 0.28mm roughly doubles print time but cuts sanding time by about 60%. Machine hours are cheaper than your hours.
The Sequence That Actually Works
Every reliable finishing workflow is the same five moves, repeated until the surface stops showing lines under raking light. Skipping a stage does not save time, it moves the time to a later stage where it costs more.
| Stage | Grit / product | What it is for |
|---|---|---|
| 1. Deburr and de-seam | Hobby knife, 120–180 grit dry | Remove support nubs, elephant-foot flare on the first layer, and the ridge where two printed halves were bonded. Do not try to smooth the whole surface here. |
| 2. First fill | High-build filler primer, 2–3 light coats | Fills the layer valleys. Light coats from 25cm, not one heavy coat, which runs and hides detail you wanted to keep. |
| 3. Level | 320–400 grit, wet | Cut the primer off the peaks and leave it in the valleys. When grey plastic starts showing through in patches, that stage is done. |
| 4. Spot fill and repeat | Glazing putty, then primer again | Pinholes and deep gouges need putty, not more primer. Two full fill-and-level cycles is normal; three for a curved organic shape. |
| 5. Refine and paint | 600 then 800–1000 grit wet, then colour | Above 1000 grit is wasted effort under paint. Save the fine grits for clear coat if you are chasing gloss. |
The test for whether a stage is finished is not touch, it is light. Hold the part so a single lamp rakes across the surface at a shallow angle. Layer lines that are invisible head-on show up instantly, and so does every dip you sanded too hard.
Hands-on finishing hours for a helmet-sized prop
The jump from a matte paint job to a smooth show finish costs roughly four times the labour. Going from show finish to a mirror gloss doubles it again.
| finish | Typical low (hours) | Typical high (hours) |
|---|---|---|
| Deburr only | 0.5 | 1 |
| Matte paint, lines visible | 3 | 5 |
| Smooth show finish | 10 | 20 |
| Mirror / automotive gloss | 25 | 40 |
Source: 3D Print Bounty maker finishing quotes and comparable independent prop commissions, July 2026
Decisions Made Before Printing That You Cannot Undo
Three choices made in the slicer decide how much sanding you are signing up for. If you are commissioning the print, say all three in the brief, because a maker optimising for speed will pick differently than one optimising for your weekend.
Layer height. This is the big one. A 260mm helmet at 0.28mm layers prints in roughly 28 hours and takes about 16 hours to sand smooth. The same helmet at 0.12mm prints in about 62 hours and sands in about 6. You are trading machine time, which costs a few dollars of electricity, for your own time. Take the trade.
Orientation. Curved surfaces printed at a shallow angle produce wide, stepped terracing that takes far more filler to bury than the same surface printed steeply. Ask for the visible faces to be oriented steeply, even at the cost of extra supports on the inside where nobody looks.
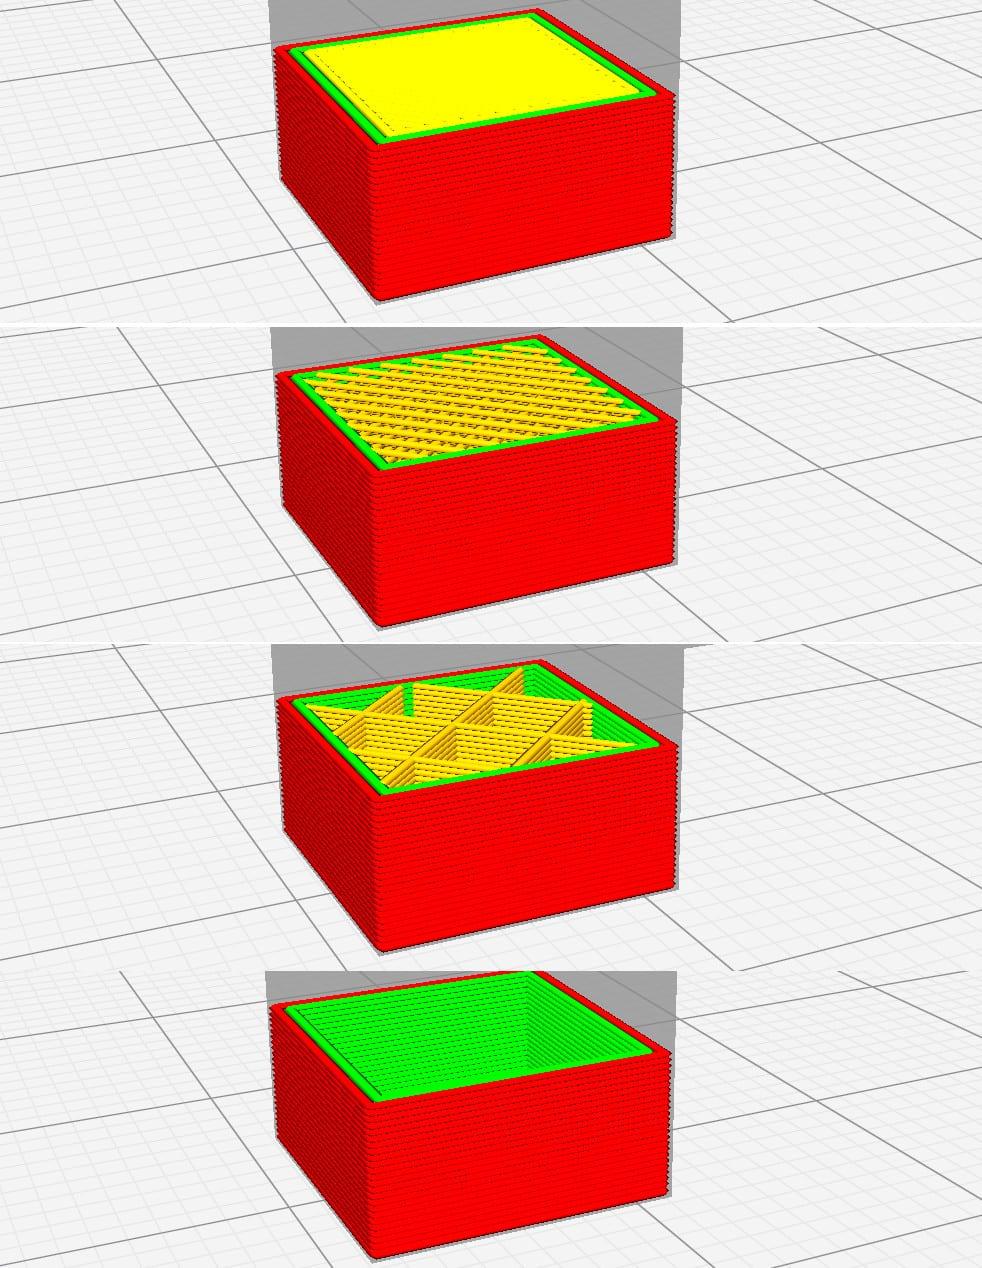
Wall thickness. Sanding removes 0.2–0.5mm of material across a whole panel. On a two-wall shell that is most of your material, and you will sand through into infill. Ask for three or four perimeters on any part you intend to finish properly. It costs a little more filament and saves the entire print.
Layer height: print hours versus sanding hours
Dropping the layer height from 0.28mm to 0.12mm, a factor of 2.3, roughly doubles print time on a helmet — 28 hours to 62 — but cuts hand sanding from about 16 hours to about 6. Printer hours are far cheaper than human hours.
| layer | Print hours | Sanding hours |
|---|---|---|
| 0.28mm | 28 | 16 |
| 0.20mm | 38 | 11 |
| 0.16mm | 47 | 8 |
| 0.12mm | 62 | 6 |
Source: Slicing estimates for a 260mm helmet at a 0.4mm nozzle, paired with 3D Print Bounty maker finishing estimates. Typical figures rather than measured times, July 2026
The cost of that extra print time is easy to check. Run the same part at both layer heights through our 3D printing cost calculator and compare the difference against ten hours of your evenings.
Each Material Sands Differently
PLA is the most common prop material and the most annoying to sand. Its glass transition is low enough that friction heat softens the surface, so a power sander leaves gummy smears rather than dust. Sand it wet, keep the pressure light, and accept that filler primer is doing most of the work.
PETG is worse. It is tougher and more elastic, so it tends to tear and fuzz rather than powder. If a part is destined for a show finish and does not need PETG's durability, PLA is the easier choice.
ABS and ASA sand beautifully, powder cleanly, and can be vapour smoothed with acetone, which melts the outer surface into a moulded-looking gloss with no abrasive work at all. That is a real advantage for props, offset by needing an enclosed printer and a maker willing to handle solvent vapour safely.
Resin parts arrive with almost no layer lines and need only support-mark cleanup, but they are brittle and the dust is more hazardous than thermoplastic dust. Always wet sand resin, always wear a respirator.
The dust is the actual risk
Dry sanding thermoplastic generates fine airborne particles for hours after you stop. Wet sand wherever possible, wear a fitted P2/N95 respirator rather than a dust mask, and do not do this in the room you sleep in. A $30 respirator is the cheapest item in this entire process and the only one that matters medically.
Painting: Where People Undo Their Own Sanding
Four rules cover almost every ruined paint job on a prop.
Thin coats, always. Three light passes beat one wet one. A heavy coat runs on vertical surfaces and pools in the recessed detail you spent hours preserving.
Respect the recoat window. Rattle-can enamel and lacquer either want a second coat within about an hour or after 48 hours of full cure. Spraying in between wrinkles the surface, and the only fix is sanding it all back.
Prime in a colour that fights the topcoat. Grey primer under a bright red or yellow kills the saturation. Use white primer under warm colours and grey under cool ones.
Seal before weathering. Clear coat between the base colour and any wash, drybrush or weathering pass. It gives you an undo: if the weathering goes wrong you wipe it off the clear rather than off your base colour.
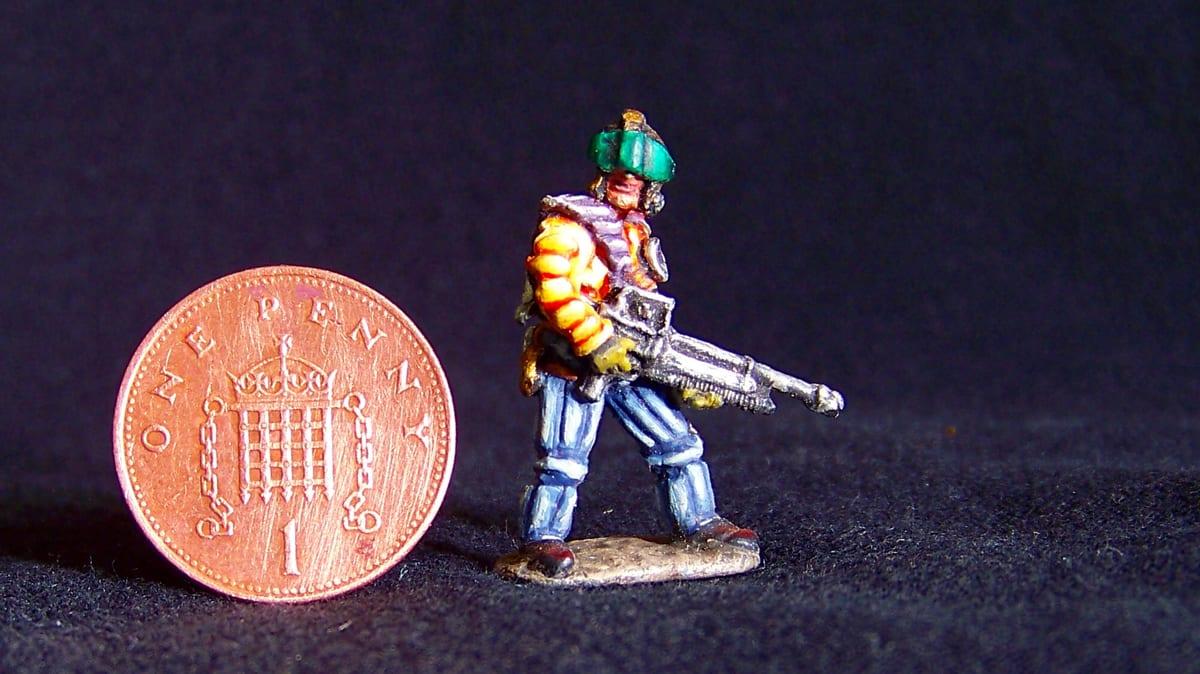
Detail painting deserves its own attention on smaller pieces, where the surface finish is already good enough and the whole result rests on the paint. Our guide to 3D printed cosplay props covers where finishing sits in a full build timeline.
Do It Yourself, or Pay for a Finished Print?
Finishing one helmet yourself costs roughly $115 for the first prop: a sandpaper assortment ($15), three cans of filler primer ($30), glazing putty ($8), two cans of colour ($20), a clear coat ($12) and a respirator ($30). Only about $70 of that is consumed per prop; the respirator and most of the abrasives are reusable. Having a maker do the same work costs $250–900, which is 10–20 hours at typical finishing rates of $25–45 an hour.
So DIY wins on cash and loses on time and first-attempt quality. The honest split:
- Finish it yourself if you have four weekends, you want the skill, and the prop is not the centrepiece of the costume. Most of the respirator and sandpaper cost is reusable, so prop number two costs about $70.
- Pay for it if you are inside eight weeks of a convention, the piece is the hero of the build, or the surface is a large organic curve. Curves are where beginners produce a wavy finish that looks worse than the layer lines did.
- Split it by asking the maker to deliver the part primed and levelled, then doing colour and weathering yourself. That is the labour-heavy stage removed and the creative stage kept, and it usually costs about 60% of a full finishing quote.
Frequently asked questions
How do you get rid of layer lines on a 3D print?
You fill them rather than sand them away. Knock down seams and support scars at 120–180 grit, spray two or three coats of high-build filler primer, then wet sand at 400 grit so the primer stays in the valleys and comes off the peaks. Repeat once. Sanding alone just rounds the ridges.
How long does it take to smooth a 3D printed helmet?
About 10–20 hours of hands-on work for a show finish on a helmet-sized part, spread across three or four sessions because primer needs to cure between coats. A quick matte paint job that leaves layer lines visible takes 3–5 hours. A mirror automotive gloss takes 25–40.
Should you wet sand a 3D print?
Yes, from 400 grit onwards. Water carries away the swarf that otherwise clogs the paper, keeps friction heat from melting PLA into gummy smears, and suppresses the fine plastic dust you would otherwise breathe. Use it on primer, not on bare unprimed plastic, where it does little.
Does acetone smoothing work on PLA or PETG?
No. Acetone vapour smoothing only works on ABS and ASA, which dissolve in acetone. PLA and PETG have no practical household solvent, so they must be filled and sanded, or coated with a brush-on epoxy. Products sold as PLA smoothing solvents are generally harsher chemicals with poor results.
Is it cheaper to finish a 3D printed prop yourself?
On materials, yes: about $115 of sandpaper, filler primer, putty, paint and a respirator gets you through the first helmet, and about $70 per prop after that once the respirator and abrasives are reused, against $250–900 to have a maker do it. The trade is 10–20 hours of your time and a first attempt that usually looks worse than the maker version. Doing your own second prop is where it starts paying.
Get It Printed Ready to Finish
Post your prop with the layer height, orientation and wall count you want, or ask makers to quote it primed and levelled so you only have to paint. Payment stays in escrow until you approve photos of the surface.