Show-Finish 3D Prints: Vapor Smoothing and Coatings
Every few weeks someone posts a PLA helmet sitting in a jar of acetone-soaked paper towels, asks why nothing happened after six hours, and gets forty replies arguing about it. The answer is boring: PLA is not ABS, and acetone does not care about it.
That leaves a real question underneath. If you want a printed prop that reads as a moulded object rather than a stack of layers, what actually gets you there, how many hours does it take, and what does it cost if you pay someone else to do it? This covers all three, including the routes that are not worth the trouble.
Can you vapor smooth PLA, and what works instead?
PLA cannot be acetone vapor smoothed; acetone barely attacks it. Acetone vapor works only on ABS and ASA. Show-finish PLA is achieved by sanding to 400 grit, two to four coats of high-build filler primer, then paint, which takes 10 to 20 hours of hand work and about $35 to $70 in consumables for a helmet-sized prop.
Last verified: July 2026
Key takeaways
- •Acetone vapor smoothing works on ABS and ASA only. PLA, PETG and standard SLA resins have no practical vapor route.
- •Vapor smoothing removes surface detail under roughly 0.5mm, so it suits helmets and armour plates but ruins panel lines and miniatures.
- •A show finish on a helmet-sized prop takes 10 to 20 hours of hand work and $35 to $70 in consumables at US retail prices, July 2026.
- •Paying a maker for that same finish costs $250 to $900, because skilled finishing runs $25 to $45 an hour and labour dominates the bill.
- •The US EPA finalised a TSCA rule in May 2024 prohibiting consumer use of methylene chloride, one of the few solvents that does dissolve PLA.
Why PLA Does Not Vapor Smooth
Acetone dissolves ABS and ASA because both are amorphous styrenic polymers whose chains acetone can get between. PLA is an aliphatic polyester. Acetone will soften its surface slightly given long enough, producing a tacky haze, but it will not liquefy and reflow the way ABS does. Six hours in a vapor chamber gets you a dull, sticky part that still has every layer line it started with.
Solvents that do attack PLA exist. Ethyl acetate, tetrahydrofuran, chloroform and dichloromethane all work to varying degrees. The problem is that they all attack it unevenly and aggressively, so instead of a gloss you get a blotchy, softened surface with drooped edges. They are also considerably more hazardous than acetone. The US EPA finalised a rule under the Toxic Substances Control Act in May 2024 that prohibits consumer use of methylene chloride, which is the same chemical as dichloromethane.
The practical conclusion, and it is not a satisfying one: if the finished surface matters and you are committed to a vapor process, print the part in ABS or ASA. If it has to be PLA, plan on sanding.
What Each Finishing Route Actually Does
There are five routes worth knowing about, and choosing between them is mostly a question of what material the part is in and how much detail you are willing to lose.
| Route | Works on | Detail loss | Main catch |
|---|---|---|---|
| Acetone vapor | ABS, ASA | High. Anything under ~0.5mm rounds off | Flammable vapour, and overexposure sags overhangs and closes small holes |
| Industrial chemical vapor | SLS and MJF nylon, TPU | Low to moderate | Service-only. Sealed chambers with proprietary solvent, not a home process |
| Sand, filler primer, paint | Everything | Low, and fully under your control | The most hours of any route. This is where the 10 to 20 figure comes from |
| Brush-on epoxy coating | Everything | Moderate. Adds roughly 0.2–0.5mm of thickness | Self-levelling but not self-flattening. Still needs sanding for a true show finish |
| Print finer and accept it | Everything | None | Dropping from 0.2mm to 0.08mm layers multiplies print time by about 2.5 and still leaves visible lines under raking light |
How Many Hours Each Route Really Takes
A show finish on a helmet-sized prop is 10 to 20 hours of hands-on work. That is the number that surprises people, and it is why finishing costs more than printing on almost every prop commission.
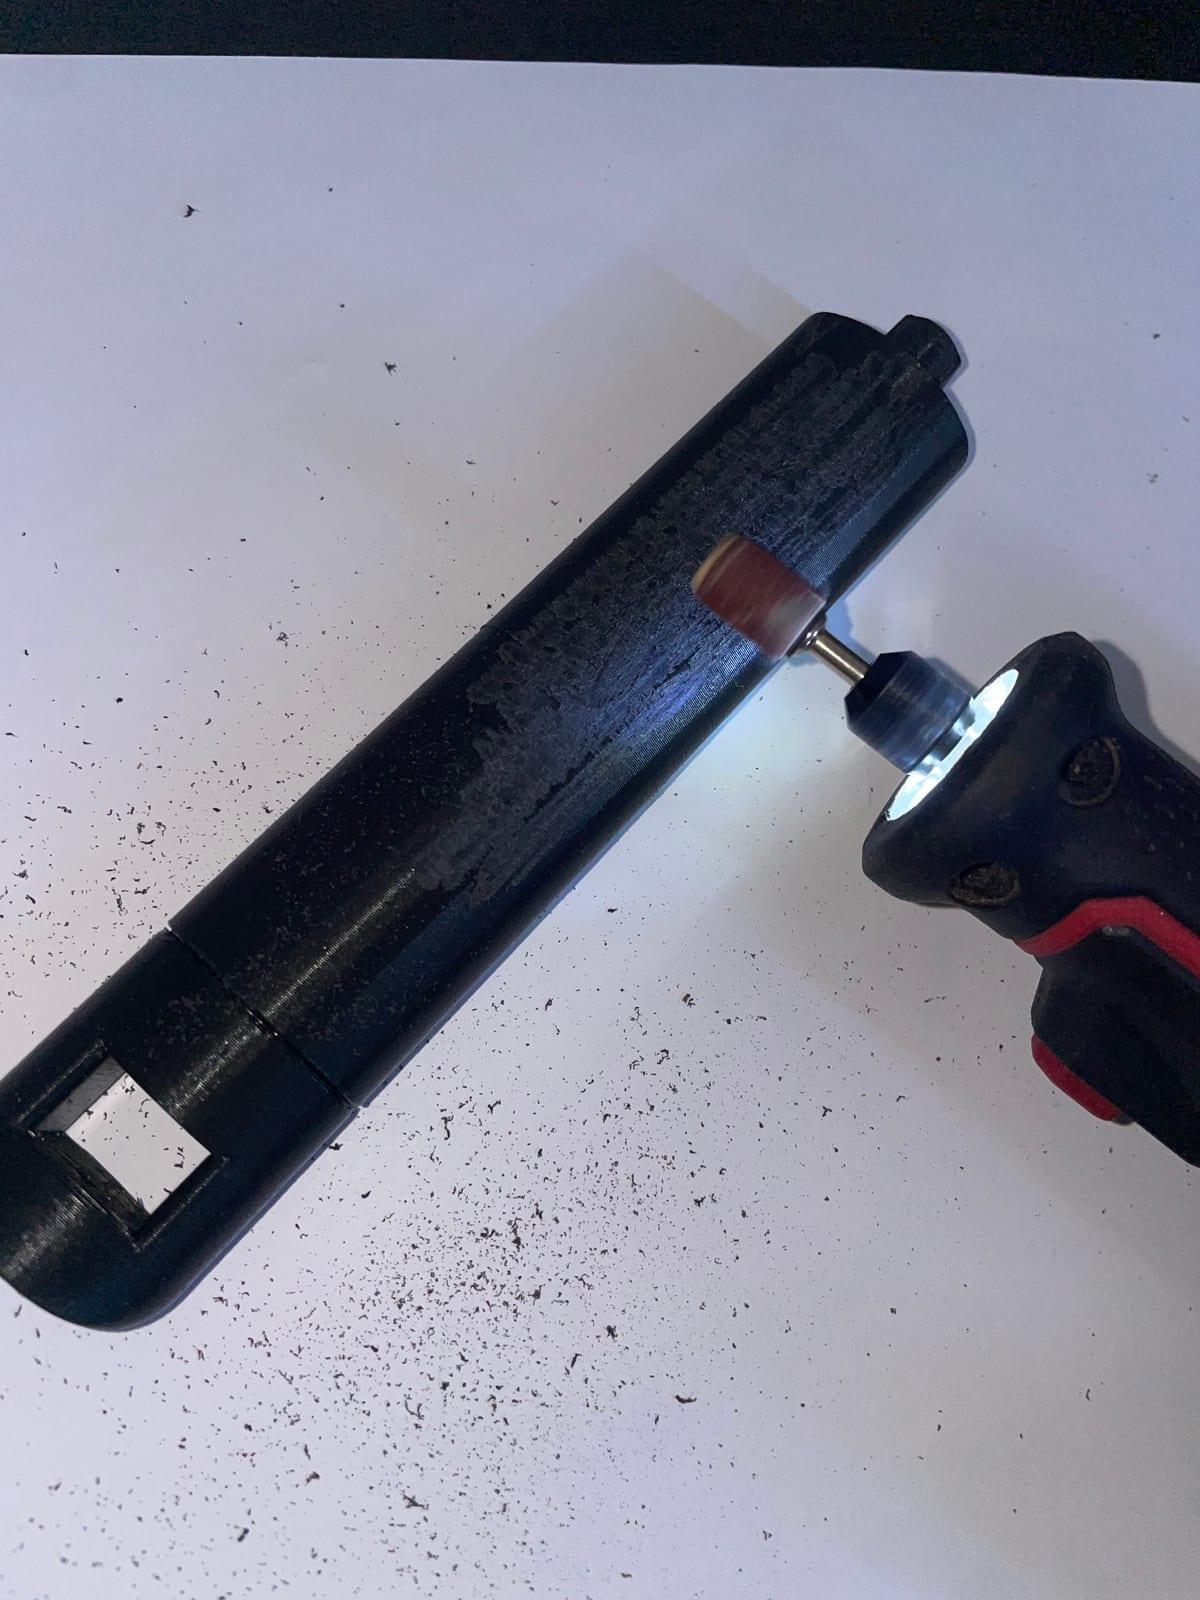
The sequence is rough sanding at 180 to 220 grit to knock down the worst layer lines, two to four coats of high-build filler primer with a sand between each, spot putty into the pinholes that always appear after the second primer coat, wet sanding at 400 and then 800, colour coats, and a clear if you want gloss. Each primer coat needs cure time, so a helmet is a multi-day job even when the hands-on hours are lower.
Hands-on finishing hours for a helmet-sized prop
A full filler-primer show finish takes 10 to 20 hours of hand work; acetone vapor on an ABS print gets a comparable gloss in 3 to 6 hours, at the cost of every sharp detail on the part.
| route | Typical low (hours) | Typical high (hours) |
|---|---|---|
| Raw print, no finishing | 0 | 0.5 |
| Acetone vapor (ABS) + paint | 3 | 6 |
| Sand + rattle-can paint | 4 | 8 |
| Epoxy coat + sand + paint | 8 | 14 |
| Filler primer show finish | 10 | 20 |
Source: 3D Print Bounty maker quotes and comparable independent finishing commissions for helmet-sized cosplay props, July 2026. Indicative ranges, excluding cure and drying time between coats.
Consumable cost per helmet-sized prop, excluding the print
Every finishing route costs under $100 in materials. The spread between $12 and $90 is trivial next to the labour, so choose the route by finish quality, not by consumable price.
| route | Typical low | Typical high |
|---|---|---|
| Acetone vapor (ABS) + paint | $12 | $25 |
| Sand + rattle-can paint | $20 | $35 |
| Filler primer show finish | $35 | $70 |
| Epoxy coat + sand + paint | $45 | $90 |
Source: US retail prices for filler primer, wet-and-dry abrasives, spot putty, brush-on print epoxy, acetone and aerosol clear coat, July 2026. Assumes one helmet-sized part per set of consumables, and excludes reusable equipment such as a respirator.
The Safety Part, Stated Plainly
Acetone is flammable and its vapour is heavier than air, so it pools in the bottom of an enclosed space and around floor-level ignition sources. A vapor chamber sitting next to a gas water heater in a garage is a genuinely bad idea, not an internet-caution one. Vent it, keep it away from anything that sparks, and never heat acetone with an open element.
Sanding dust matters too. Wet-sand cured resin parts rather than dry-sanding them, and wear at least an N95 for any dry sanding. Two-part automotive clear coats contain isocyanates, which want a supplied-air respirator rather than a cartridge mask; a single-part aerosol clear is the sensible home compromise.
And the one worth repeating: dichloromethane, sold as methylene chloride paint stripper, does smooth PLA. The EPA prohibited consumer use of it in a final TSCA rule issued in May 2024. Do not go looking for it.
When Smoothing Is Not Worth It
Layer lines stop being visible at roughly two metres under normal room lighting. If a prop is a convention piece seen from across a hall, a rough sand and a matte paint gets you 90 percent of the way for a fraction of the hours. Gloss is what punishes a bad surface, because a specular highlight travelling across a curve traces every ridge. Matte hides almost everything.
Skip smoothing entirely on functional parts, on anything printed with a deliberate texture such as fuzzy skin, and on miniatures, where the detail you would remove is the entire point. On miniatures the correct answer is a finer layer height and a resin process, not post-processing.
If the piece is a wearable prop rather than a display model, weight and stiffness usually matter more than gloss. Our guide to 3D printed cosplay props covers how finishing choices interact with fit, and you can price the print itself before any finishing with the 3D printing cost calculator.
Ask for finish level, not "smooth"
"Smooth" means nothing on a quote. Say which of these you want: as-printed, sanded and primed, primed and painted matte, or full gloss show finish. The gap between the second and the fourth is 12 hours of somebody's labour, and it is the single biggest variable in a prop quote.
Frequently asked questions
Can you vapor smooth PLA with acetone?
No. Acetone barely attacks PLA, which is a polyester rather than a styrenic like ABS. Leaving a PLA print in acetone vapor for hours produces a slightly tacky, hazy surface and no real smoothing. Solvents that do dissolve PLA, such as ethyl acetate and dichloromethane, are far more hazardous and give uneven results.
Which 3D printing materials can actually be vapor smoothed?
ABS and ASA smooth reliably in acetone vapor in roughly 10 to 30 minutes. Nylon PA12 and TPU parts from SLS and MJF machines are vapor smoothed industrially in sealed chemical chambers. PLA, PETG and standard SLA resins have no practical vapor route and are finished by sanding, filler primer and paint instead.
How long does it take to get a show finish on a 3D printed helmet?
Between 10 and 20 hours of hands-on work for a helmet-sized prop taken to a glossy painted finish. That covers rough sanding, two to four coats of high-build filler primer with sanding between each, spot putty on pinholes, colour coats and clear. Acetone vapor on an ABS print cuts that to roughly 3 to 6 hours.
Does vapor smoothing damage fine detail?
Yes. Acetone vapor works by letting the surface flow, and flowing plastic rounds off anything sharp. Detail under roughly 0.5mm, such as panel lines, rivets and engraved text, softens or disappears entirely. Vapor smoothing suits large curved surfaces like helmets and armour plates, not detailed miniatures or mechanical parts.
Is it cheaper to smooth a print yourself or pay for it?
Consumables for a show finish on a helmet-sized prop run roughly $35 to $70 in the US as of July 2026. Paying a maker to do the same work costs $250 to $900, because 10 to 20 hours of skilled hand finishing at $25 to $45 an hour dominates the price. The material was never the expensive part.
Get It Printed and Finished Properly
Post your model with the finish level you want and reference photos of the look you are after. Makers who do prop finishing will bid, and your payment stays in escrow until you have approved photos of the finished piece.