Wall Thickness: The Number That Decides Strength and Price
Most people tuning a print reach for infill first. It is the wrong dial. Infill is the setting with the friendly percentage next to it, but wall thickness is the one that decides whether your part survives being sat on, and it is the one that quietly doubles your quote.
Here is what wall thickness actually is in slicer terms, how to pick a number for the part in front of you, and exactly what each extra wall costs in grams, minutes and dollars. All the arithmetic is shown so you can redo it for your own part.
What wall thickness should you use for a 3D print?
Use 1.2mm (three walls at a 0.4mm nozzle) as the default for functional parts, 0.8mm for decorative ones and 1.6-2.4mm for brackets and anything under load. The minimum printable wall equals the nozzle diameter, 0.4mm. Each extra wall adds roughly 30 minutes of print time per 18,800mm² of surface, which is where the cost lives.
Last verified: July 2026
Key takeaways
- •Minimum printable wall thickness equals nozzle diameter: 0.4mm on almost every consumer FDM printer.
- •1.2mm (three walls) is the right default for functional parts; 1.6-2.4mm for anything that takes load.
- •Doubling wall thickness from 0.8mm to 1.6mm on a 20mm square hollow section raises bending stiffness by 77%.
- •On a 100 x 60 x 40mm box, going from 0.8mm to 1.6mm walls costs $0.47 more in PLA but 59 more minutes of print time.
- •Design CAD walls as multiples of your extrusion width (0.84, 1.26, 1.68mm) so the slicer never has to gap-fill.
What Wall Thickness Means in a Slicer
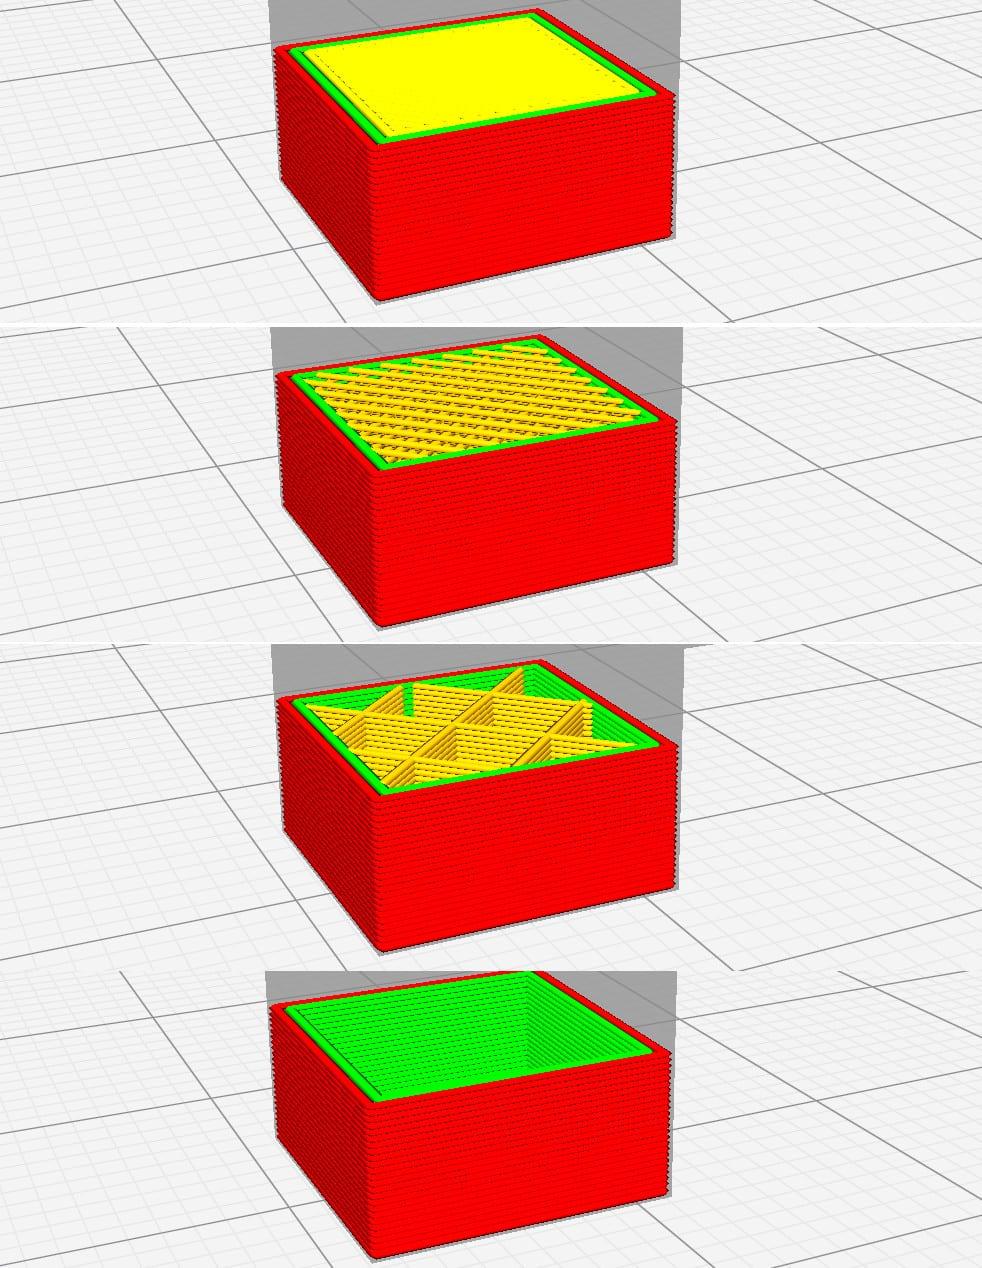
Wall thickness is wall count multiplied by extrusion line width. You do not usually set thickness directly; you set how many perimeter loops the printer traces around the outside of each layer, and the slicer multiplies. The worked examples below use a 0.42mm wall line width on a 0.4mm nozzle, which is OrcaSlicer's default; three walls is then 1.26mm of solid plastic and nothing you do to infill changes that. Other slicers differ: PrusaSlicer defaults to 0.45mm and Cura to the nozzle diameter itself, so the same three-wall setting gives 1.35mm or 1.20mm instead. Check the profile before you trust a wall count.
This is why the same model prints differently on two machines. A shop running a 0.6mm nozzle at 0.62mm line width gets 1.86mm from the same three-wall setting. If wall thickness matters to your part, specify the thickness in millimetres, not the wall count.
| Wall count | 0.4mm nozzle (0.42mm line) | 0.6mm nozzle (0.62mm line) | What it is good for |
|---|---|---|---|
| 1 | 0.42mm | 0.62mm | Vase-mode decor only. Snaps under thumb pressure. |
| 2 | 0.84mm | 1.24mm | Display models, board game trays, cable clips. |
| 3 | 1.26mm | 1.86mm | The general-purpose default. Most parts should start here. |
| 4 | 1.68mm | 2.48mm | Enclosures, handles, anything handled daily. |
| 5 | 2.10mm | 3.10mm | Brackets, hooks, mounts, threaded bosses. |
| 6+ | 2.52mm+ | 3.72mm+ | Load-bearing parts. Past this point, consider a redesign or a rib instead. |
Line widths are OrcaSlicer's default wall widths for the stated nozzle, July 2026. PrusaSlicer defaults to 0.45mm on a 0.4mm nozzle and Cura to the nozzle diameter, so the same wall counts land a little wider or narrower on those slicers.
What Each Extra Wall Costs You
An extra wall costs about 30 minutes of print time and 9 grams of plastic on a part the size of a small project enclosure. Here is the worked example, and you can substitute your own part into it.
Take an open-top box, 100 × 60 × 40mm. Its wall and floor surface area is (2 × 100 × 40) + (2 × 60 × 40) + (100 × 60) = 18,800mm². Multiply that by wall thickness to get the volume of plastic in the shell. At 0.8mm that is 15,040mm³, which at PLA's density of 1.24 g/cm³ is 18.6 grams. At 1.6mm it is 30,080mm³ and 37.3 grams.
Print time follows the same ratio. A 0.42mm-wide, 0.2mm-tall extrusion has a cross-section of 0.084mm², and at 50mm/s that is 4.2mm³ of plastic laid per second. The 0.8mm shell takes 15,040 ÷ 4.2 = 3,581 seconds, or almost exactly one hour. The 1.6mm shell takes two.
Material and print time by wall thickness, 100 x 60 x 40mm open box
Each 0.4mm of extra wall on this part adds 9.3 grams of PLA and about 30 minutes of print time — the time cost is what makes thick walls expensive, not the plastic.
| wall | PLA used (grams) | Print time (minutes) |
|---|---|---|
| 0.8mm (2 walls) | 18.6 | 60 |
| 1.2mm (3 walls) | 28 | 90 |
| 1.6mm (4 walls) | 37.3 | 119 |
| 2.0mm (5 walls) | 46.6 | 149 |
| 2.4mm (6 walls) | 55.9 | 179 |
Source: Calculated from 18,800mm2 of shell surface at PLA 1.24 g/cm3 and a 4.2mm3/s extrusion rate (0.42 x 0.2mm at 50mm/s), July 2026
Now price it. Our 3D print cost calculator takes exactly these two inputs, weight and print hours, applies the per-gram material price and your machine hourly rate, then adds a 30% margin to give an asking price. Run the five wall thicknesses through it at PLA and a mid-range $3/hour rate and the shape of the answer is unmistakable: material barely moves, the quote nearly triples.
Material cost vs quoted price as wall thickness rises
Going from 0.8mm to 2.4mm walls adds $0.93 of PLA but takes the quoted price from $4.51 to $13.45. You are buying machine hours, not plastic.
| wall | Material cost | Quoted price |
|---|---|---|
| 0.8mm | $0.47 | $4.51 |
| 1.2mm | $0.7 | $6.73 |
| 1.6mm | $0.93 | $8.97 |
| 2.0mm | $1.17 | $11.22 |
| 2.4mm | $1.4 | $13.45 |
Source: 3D Print Bounty cost calculator: PLA at $0.025/g, mid-range machine rate $3/hour, 30% margin, July 2026
Why Walls Beat Infill for Anything That Bends
In bending, material far from the centre of a part does the work. That is not a 3D printing fact, it is why steel is sold as I-beams and tubes rather than solid bars. The stiffness of a section is its second moment of area, I = (BH³ - bh³) ÷ 12 for a hollow rectangle, and the cube term means a millimetre of plastic at the outside surface is worth many millimetres of plastic near the middle.
Run the numbers on a 20 × 20mm hollow square section. With 0.8mm walls the inner cavity is 18.4 × 18.4mm and I works out at 3,781mm⁴. With 1.6mm walls the cavity is 16.8 × 16.8mm and I rises to 6,695mm⁴. That is 77% more bending stiffness for 92% more material, which is a far better trade than it sounds, because the alternative way of adding that material is infill and infill sits exactly where it does the least good.
Infill is not useless. It stops walls buckling inward under compression, it supports the top skin so it does not sag, and it gives screws something to bite into. But it is a supporting cast member. If a part broke and you are deciding what to change, add a wall before you add infill, every time.
How Thick Should Your Part Be?
Start at 1.2mm and move from there. These are the numbers we would quote against for a 0.4mm nozzle in PLA or PETG.
| Part type | Wall thickness | Why |
|---|---|---|
| Display model, figurine | 0.8mm | Never loaded. Two walls is enough to survive handling and shipping. |
| Board game tray, organiser | 0.8-1.2mm | Thin walls also keep the tray small enough to fit the box. |
| Enclosure, project box | 1.6mm | Handled often, and needs to resist a drop without splitting at a corner. |
| Snap-fit clip or latch | 1.2-1.6mm plus a fillet | Needs to flex without cracking. The fillet at the root matters more than the thickness. |
| Wall hook, bracket, mount | 2.0-2.4mm | Sustained bending load. Add a gusset rather than going past 3mm. |
| Threaded boss or screw hole | 2.4mm minimum around the hole | A screw in a 1.2mm boss splits the boss, which is one of the most common ways a printed part fails in service. |
| Outdoor or automotive part | 2.0mm+, and not in PLA | UV and heat both reduce effective strength. Extra wall buys margin. |
3D Print Bounty maker guidance for 0.4mm-nozzle FDM in PLA or PETG, July 2026. Resin parts run thinner because the material is stiffer; 1.0-1.5mm is normal there.
Design to a Multiple of the Line Width
A 1.0mm wall is the worst number you can choose. At a 0.42mm line width the slicer fits two walls, 0.84mm, and has 0.16mm left over. That leftover becomes thin gap fill that under-extrudes, or nothing at all, and you end up with a wall that is weaker than the 0.84mm one you would have got by asking for less.
Model walls at 0.84mm, 1.26mm, 1.68mm or 2.10mm and the slicer fills them exactly. If you cannot control the line width because someone else is printing it, 0.8, 1.2, 1.6 and 2.0 are close enough that modern slicers absorb the 0.04–0.10mm shortfall with variable-width extrusion and no visible penalty. The rule is: land on or just below a multiple, never just above one.
The same logic applies to holes and pins, where being 0.2mm out is the difference between a press fit and a part that falls apart in your hand.
What to Tell Whoever Prints It
If you are sending the job out, say the wall thickness in millimetres and say what the part does. "1.6mm walls, it is a wall bracket holding about 2kg" gets you a part that works. "Three walls" gets you 1.26mm on one printer and 1.86mm on another, and only one of those was what you meant.
Also say whether the outside dimension or the inside dimension is the critical one. Increasing wall thickness has to eat into something, and a slicer will happily thicken a wall inward until your electronics no longer fit. For how wall thickness folds into the rest of a quote alongside layer height, supports and post-processing, see the 3D printing cost guide.
Frequently asked questions
What is a good wall thickness for 3D printing?
Use 1.2mm (three walls at a 0.4mm nozzle) as the default. Drop to 0.8mm for purely decorative parts, go to 1.6mm for enclosures and anything that gets handled, and 2.0-2.4mm for brackets, hooks and parts that take load. Below 0.8mm a part is display-only whatever the material.
What is the minimum wall thickness for a 3D print?
The nozzle diameter, which is 0.4mm on almost every consumer FDM printer. A wall thinner than the nozzle cannot be extruded at all and the slicer will silently delete it. In practice 0.8mm is the real minimum for anything you intend to pick up, because a single 0.4mm wall snaps under thumb pressure.
Is wall thickness or infill more important for strength?
Wall thickness, for anything that bends. In a hollow section the walls sit farthest from the neutral axis and carry almost all the bending load, while infill mainly stops the walls buckling inward and supports the top surface. Doubling walls from 0.8mm to 1.6mm on a 20mm square tube raises bending stiffness by 77%.
Does thicker walls mean a more expensive 3D print?
Yes, and mostly through time rather than material. On a 100 x 60 x 40mm open box, going from 0.8mm to 1.6mm walls adds only $0.47 of PLA but doubles print time from 60 to 119 minutes. Priced through our calculator at $3 per machine hour, the quote goes from $4.51 to $8.97.
Why does my 1mm wall print hollow or under-extruded?
Because 1mm is not a whole number of extrusion widths. At a 0.42mm wall line width the slicer fits two walls (0.84mm) and has 0.16mm left over, which becomes thin gap fill or a void. Design walls at multiples of your line width instead: 0.84mm, 1.26mm, 1.68mm or 2.10mm.
See What Your Wall Thickness Costs
Slice your part at two wall thicknesses, put both weights and print times into the calculator, and you will have the real trade-off in front of you in under a minute. Or post the part and let makers tell you what they would use.